
My easy basic white sandwich bread recipe which always comes out super soft and delicious.
I stopped buying bread and I’ve been making my own bread for a while now. I like to make sourdough bread most of the time for my toast but I love my soft and pillowy white bread just as much as I like crusty bread. Quick and easy to make. So here’s my never failed basic white sandwich bread recipe and I hope you give it a try.
There are a few things I thought that is important and I wanted to discuss. So please read this before you proceed with the recipe. Especially if you’re a newbie.
Proofing time
The time for a dough to proof varies depending on many factors. Mainly on the room temperature. In high temperature, the yeast become so active so your dough proofs quicker. In colder temperature they become less active hence it would take longer to proof. So my recommendation is to focus on the size of the dough rather than time.
The first proof usually takes about 45 mins to an hour. The second proof usually takes a bit less time than the first proof if the temp remains the same.
Yeast
Instant dry yeast doesn’t have to be activated or hydrated and you can directly add that to the flour. But I always add yeast to lukewarm water/milk to see if they’re in good condition. If you’re using a newly bought sachet and not from an opened jar, then you can mix all the ingredients together at once and knead the dough. But if you’re using active dry yeast, you have to add that to lukewarm water/milk with a bit of sugar and then let it activate.
Milk
Milk has fat and protein. Fat in the milk helps to add flavor and makes the bread softer and it also makes the bread last longer (so does your butter). The protein helps with the structure and volume. If you don’t want to add milk to the dough you can replace that ingredient with neutral plant-based milk like soy, almond.
You may also notice that I measure liquids in grams. For me, it’s easier and more accurate to measure liquids by grams with the scale rather than ml or oz.
The recipe yields one loaf of bread. I hope you give this recipe a go. If you do, please don’t forget to rate and leave me a feedback comment. I greatly appreciate it.
Ingredients and equipment I use (Affiliate Links):


Basic white sandwich bread
Description
My easy basic white sandwich bread recipe which always comes out super soft and delicious
Ingredients
Instructions
Making the dough
-
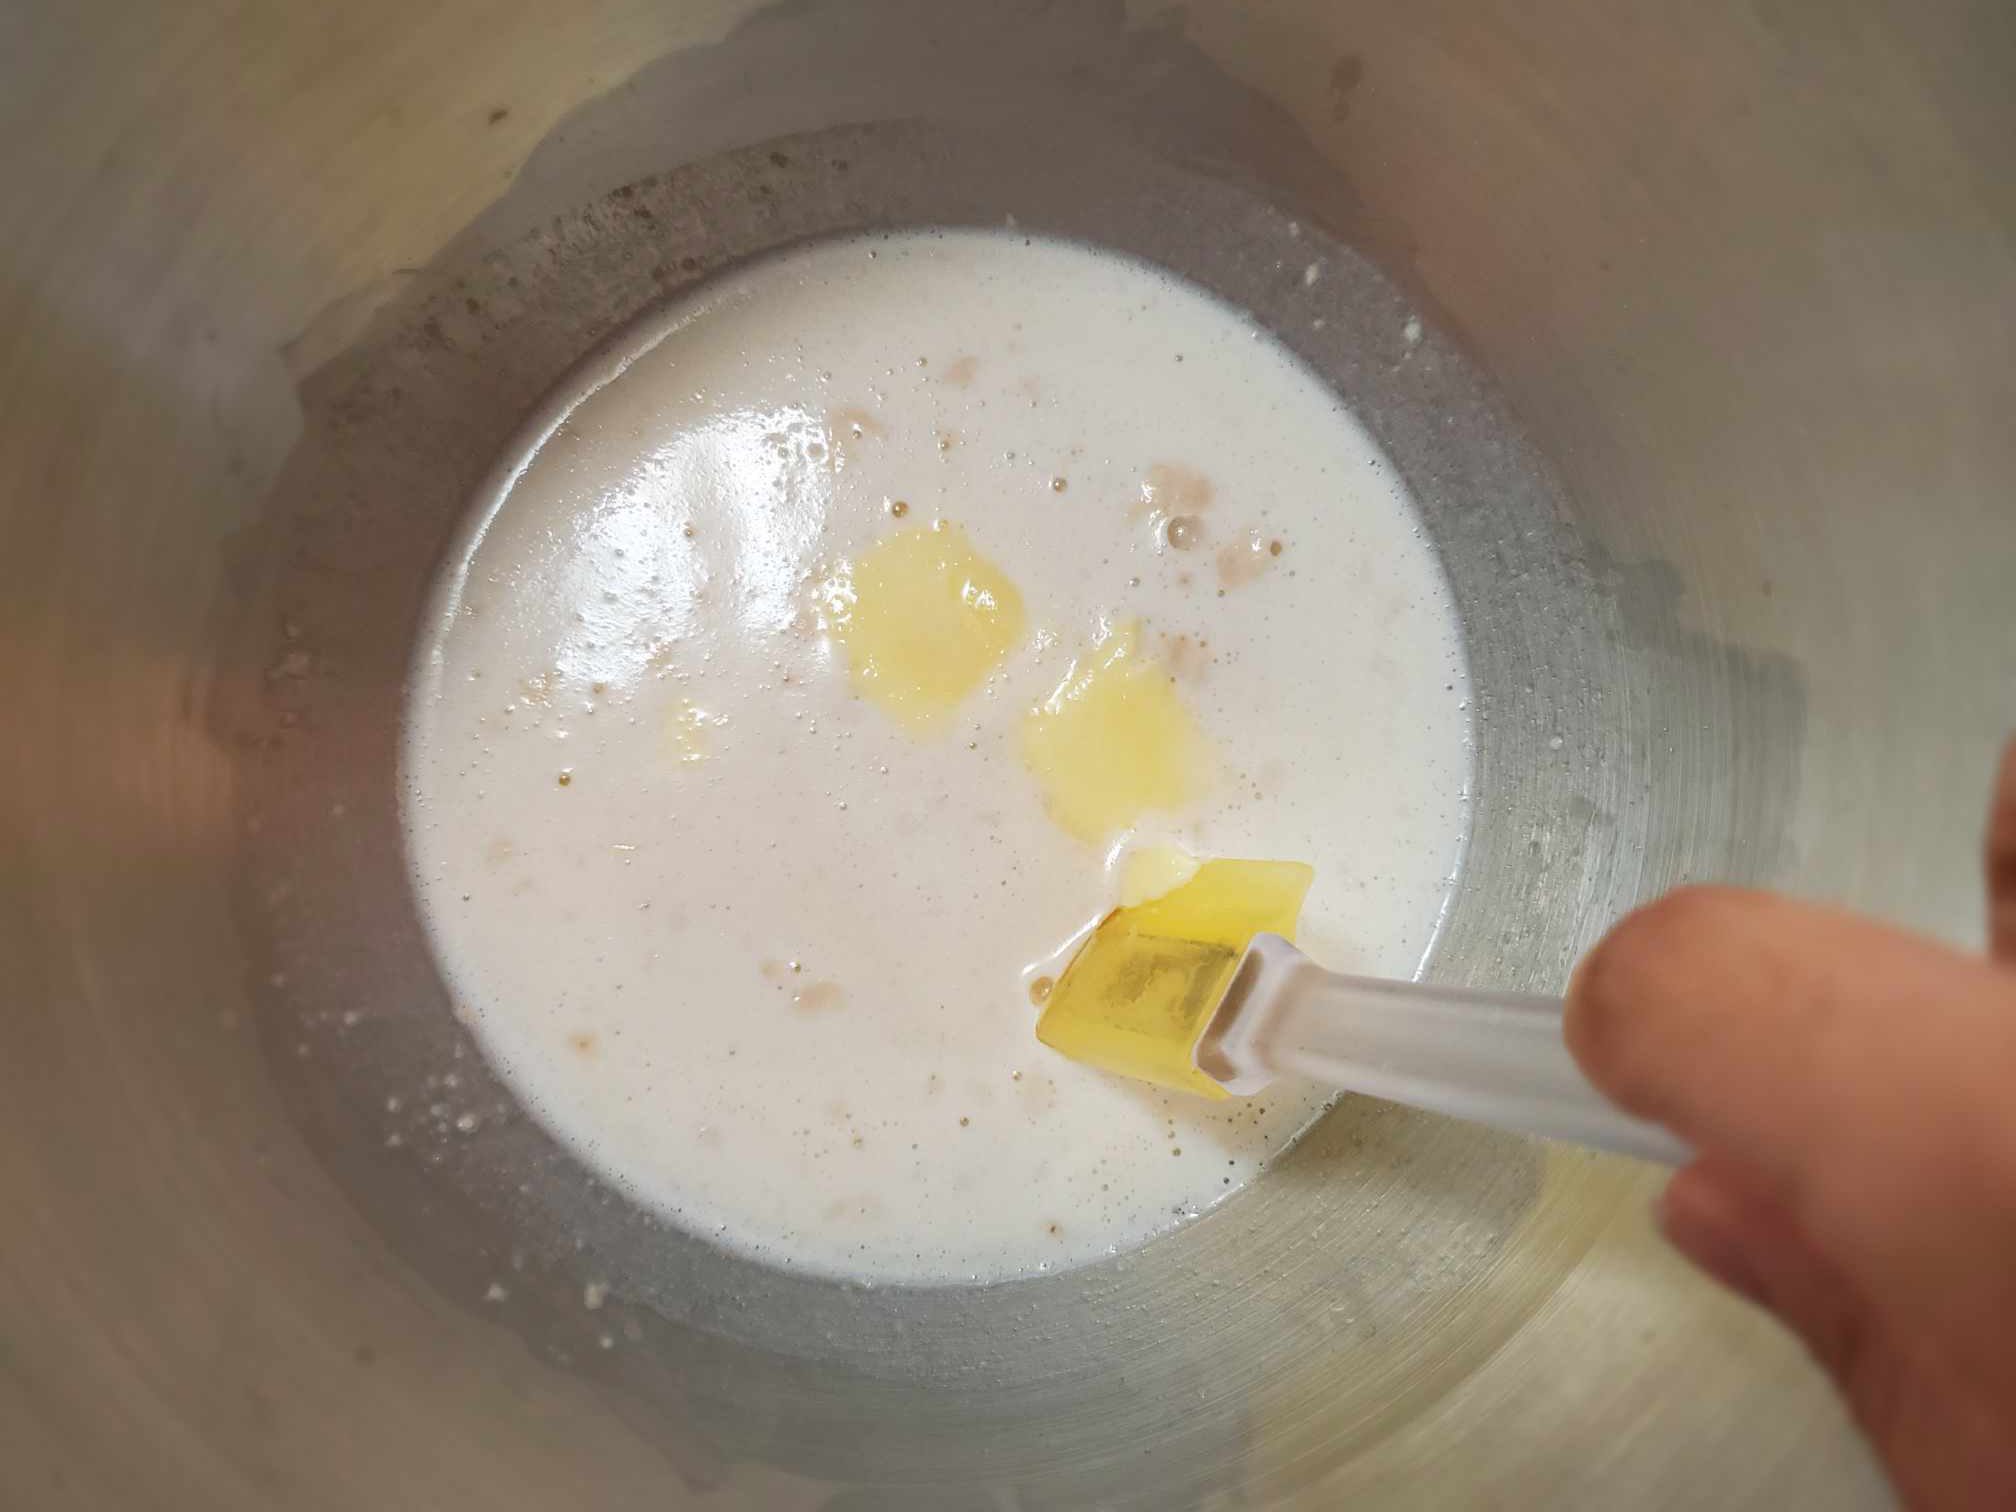
Add lukewarm water and lukewarm milk into the mixing bowl. (you can microwave water and milk together or heat in a pan)
Add 6g sugar (do not add all the sugar) and yeast. The yeast should start to make foam immediately.
(If yeast doesn't make foam then throw away that yeast and start with newly bought yeast. If you're using active dry yeast then wait for 10mins for the yeast to activate and the mixture to bubble up.)

-
Then add the rest of the sugar (30g), half-melted butter, and salt. Give it a stir.
-
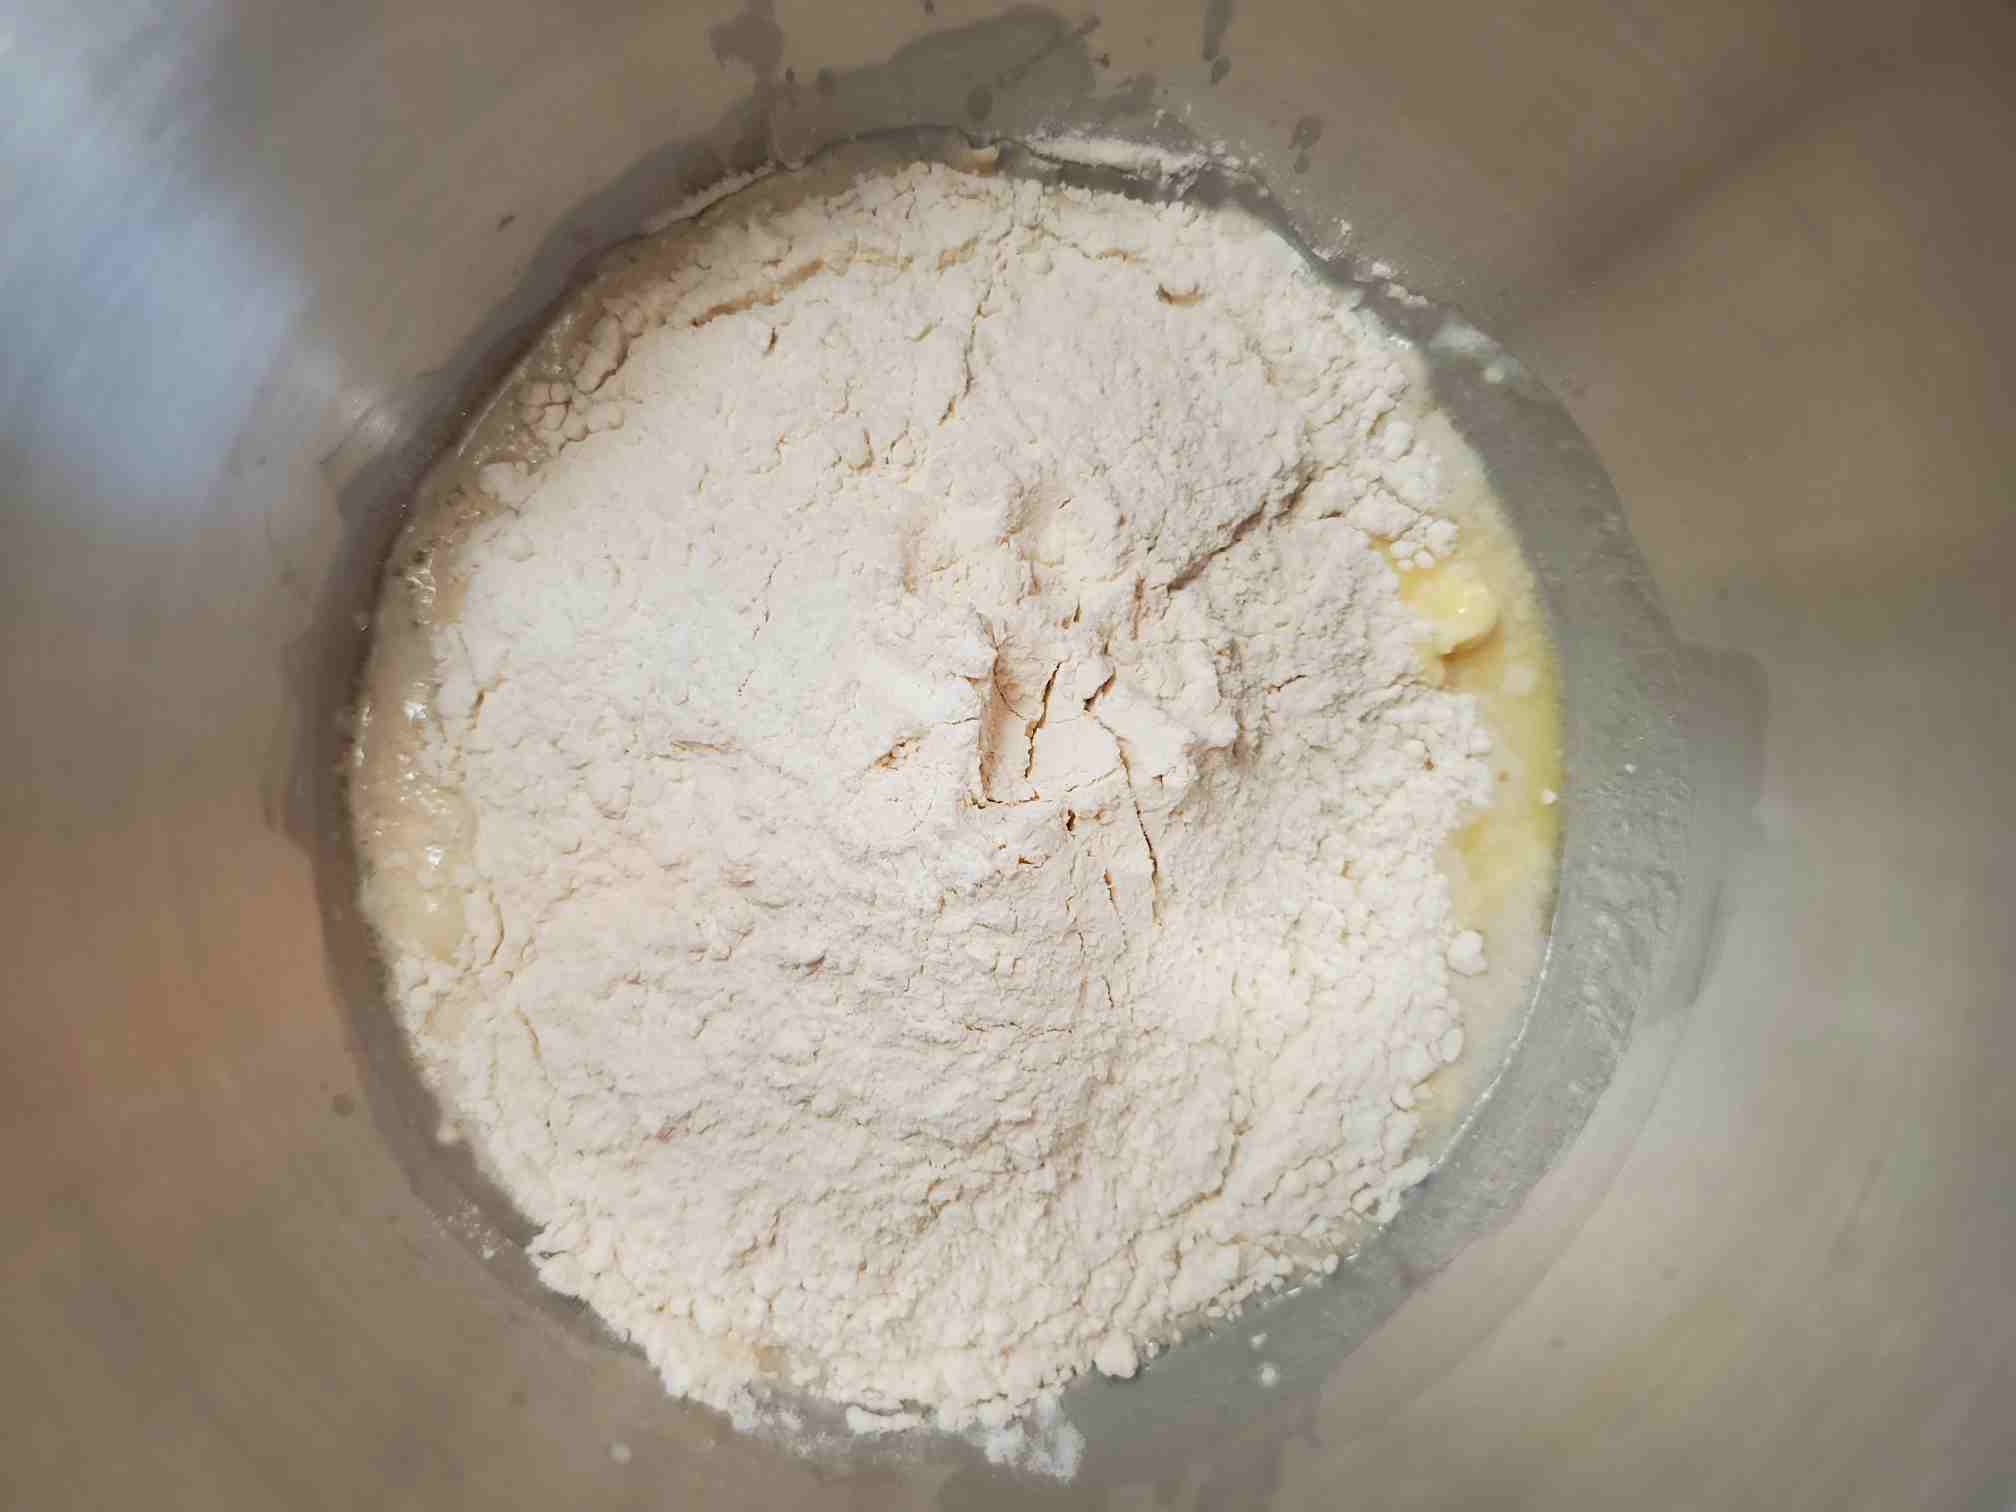
Then add your bread flour.
-
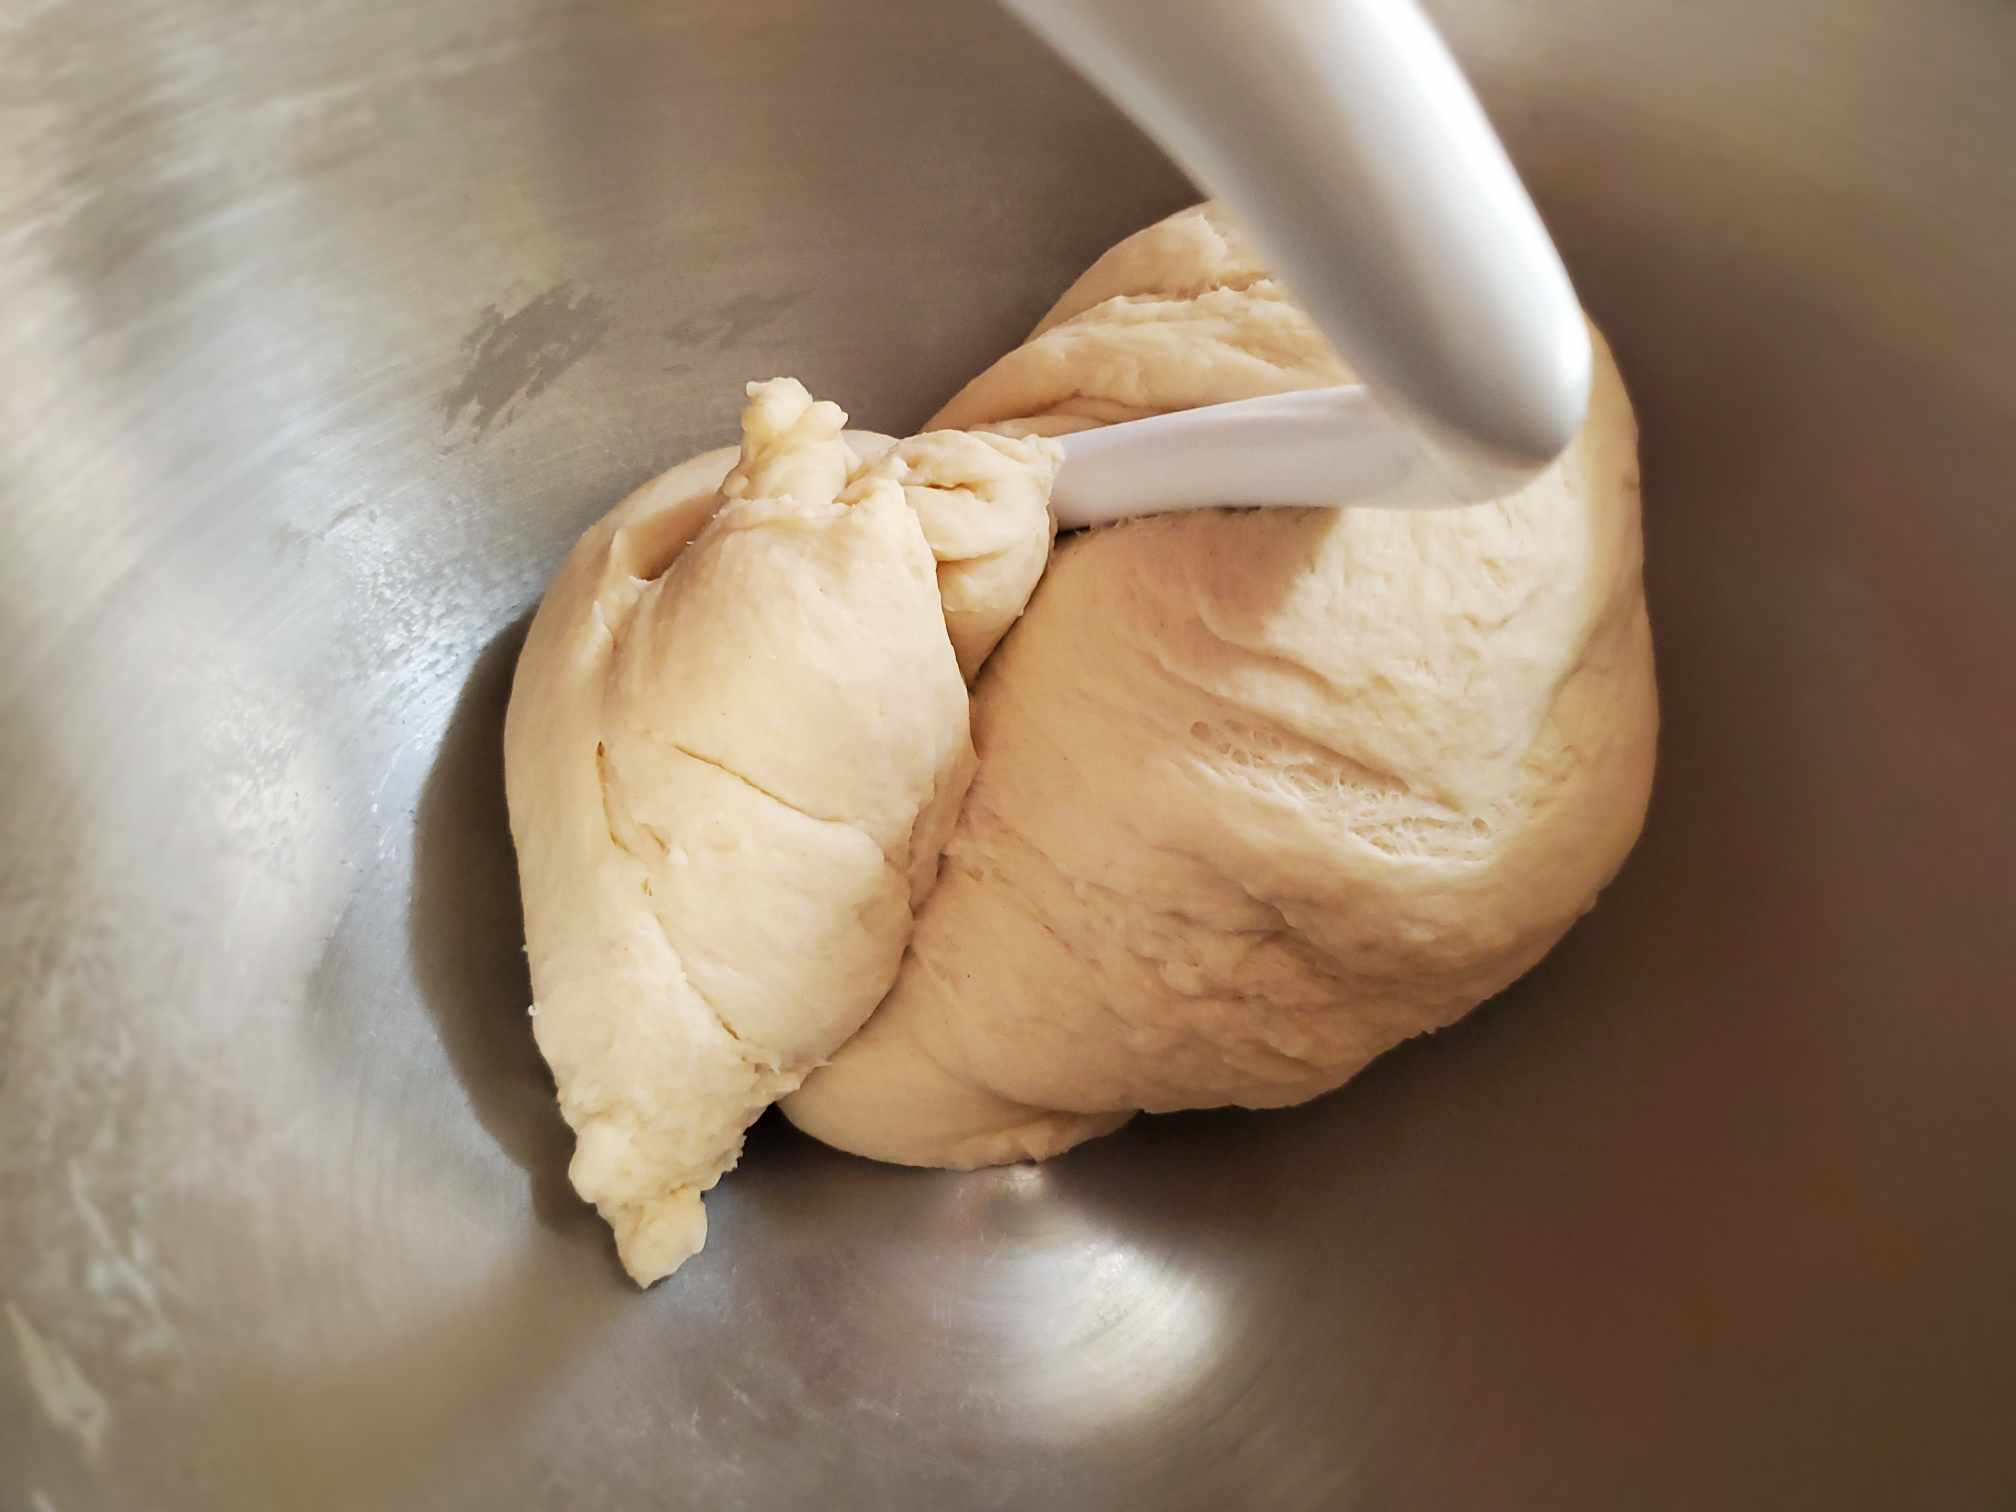
Knead the mixture for about 6-8 mins in the mixer or about 15 - 20mins by hand or until it passes the windowpane test.
-
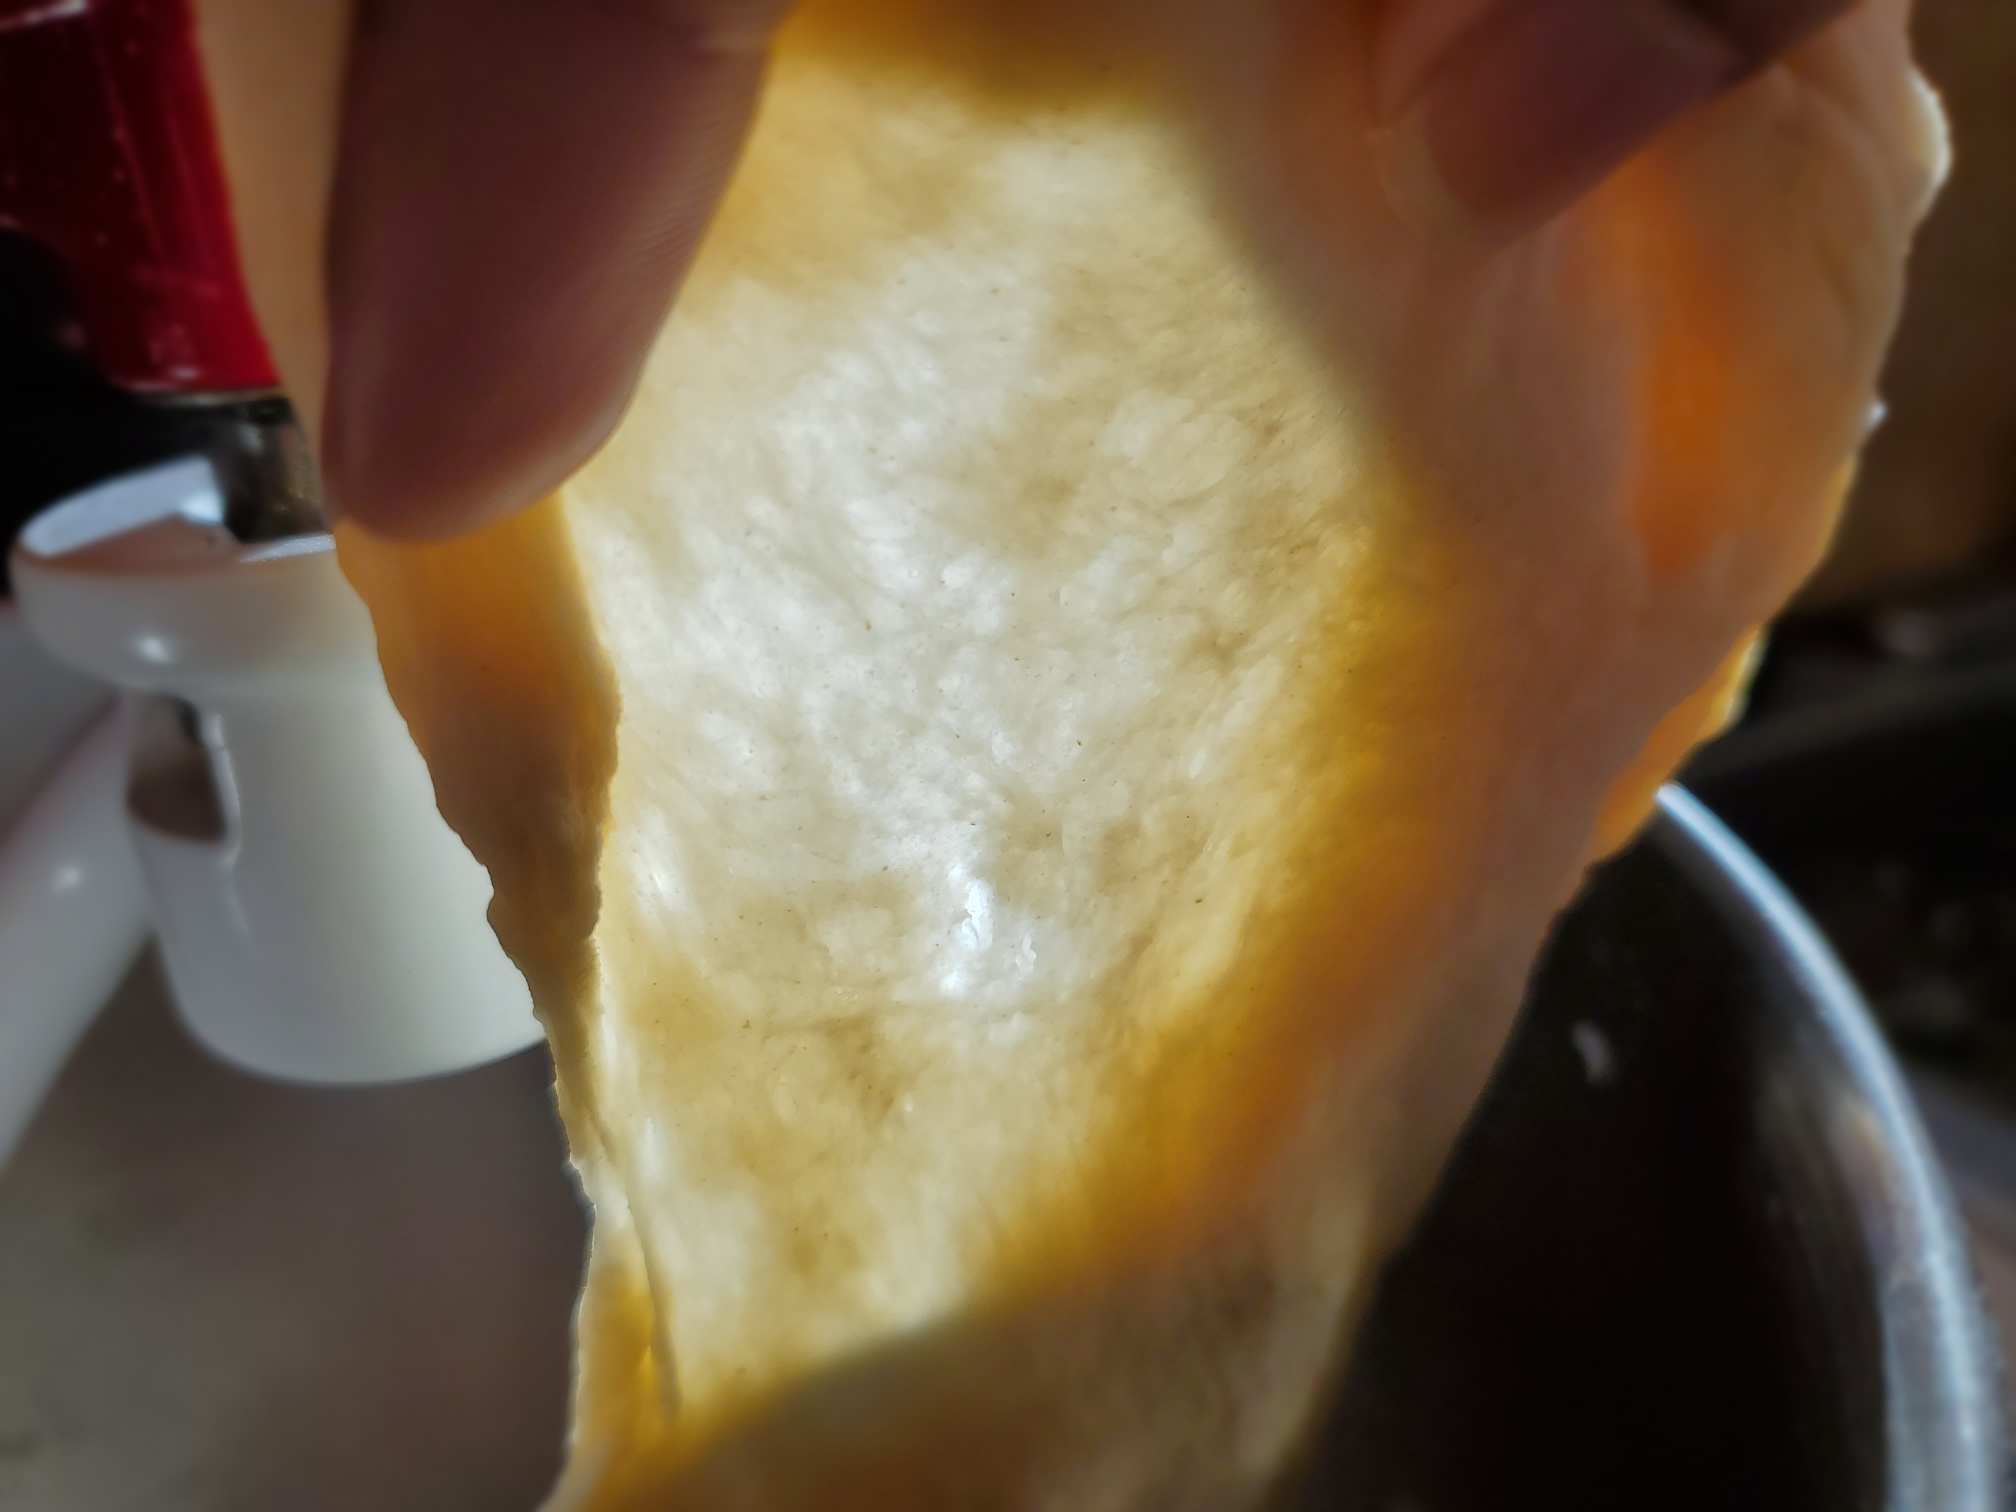
Windowpane test
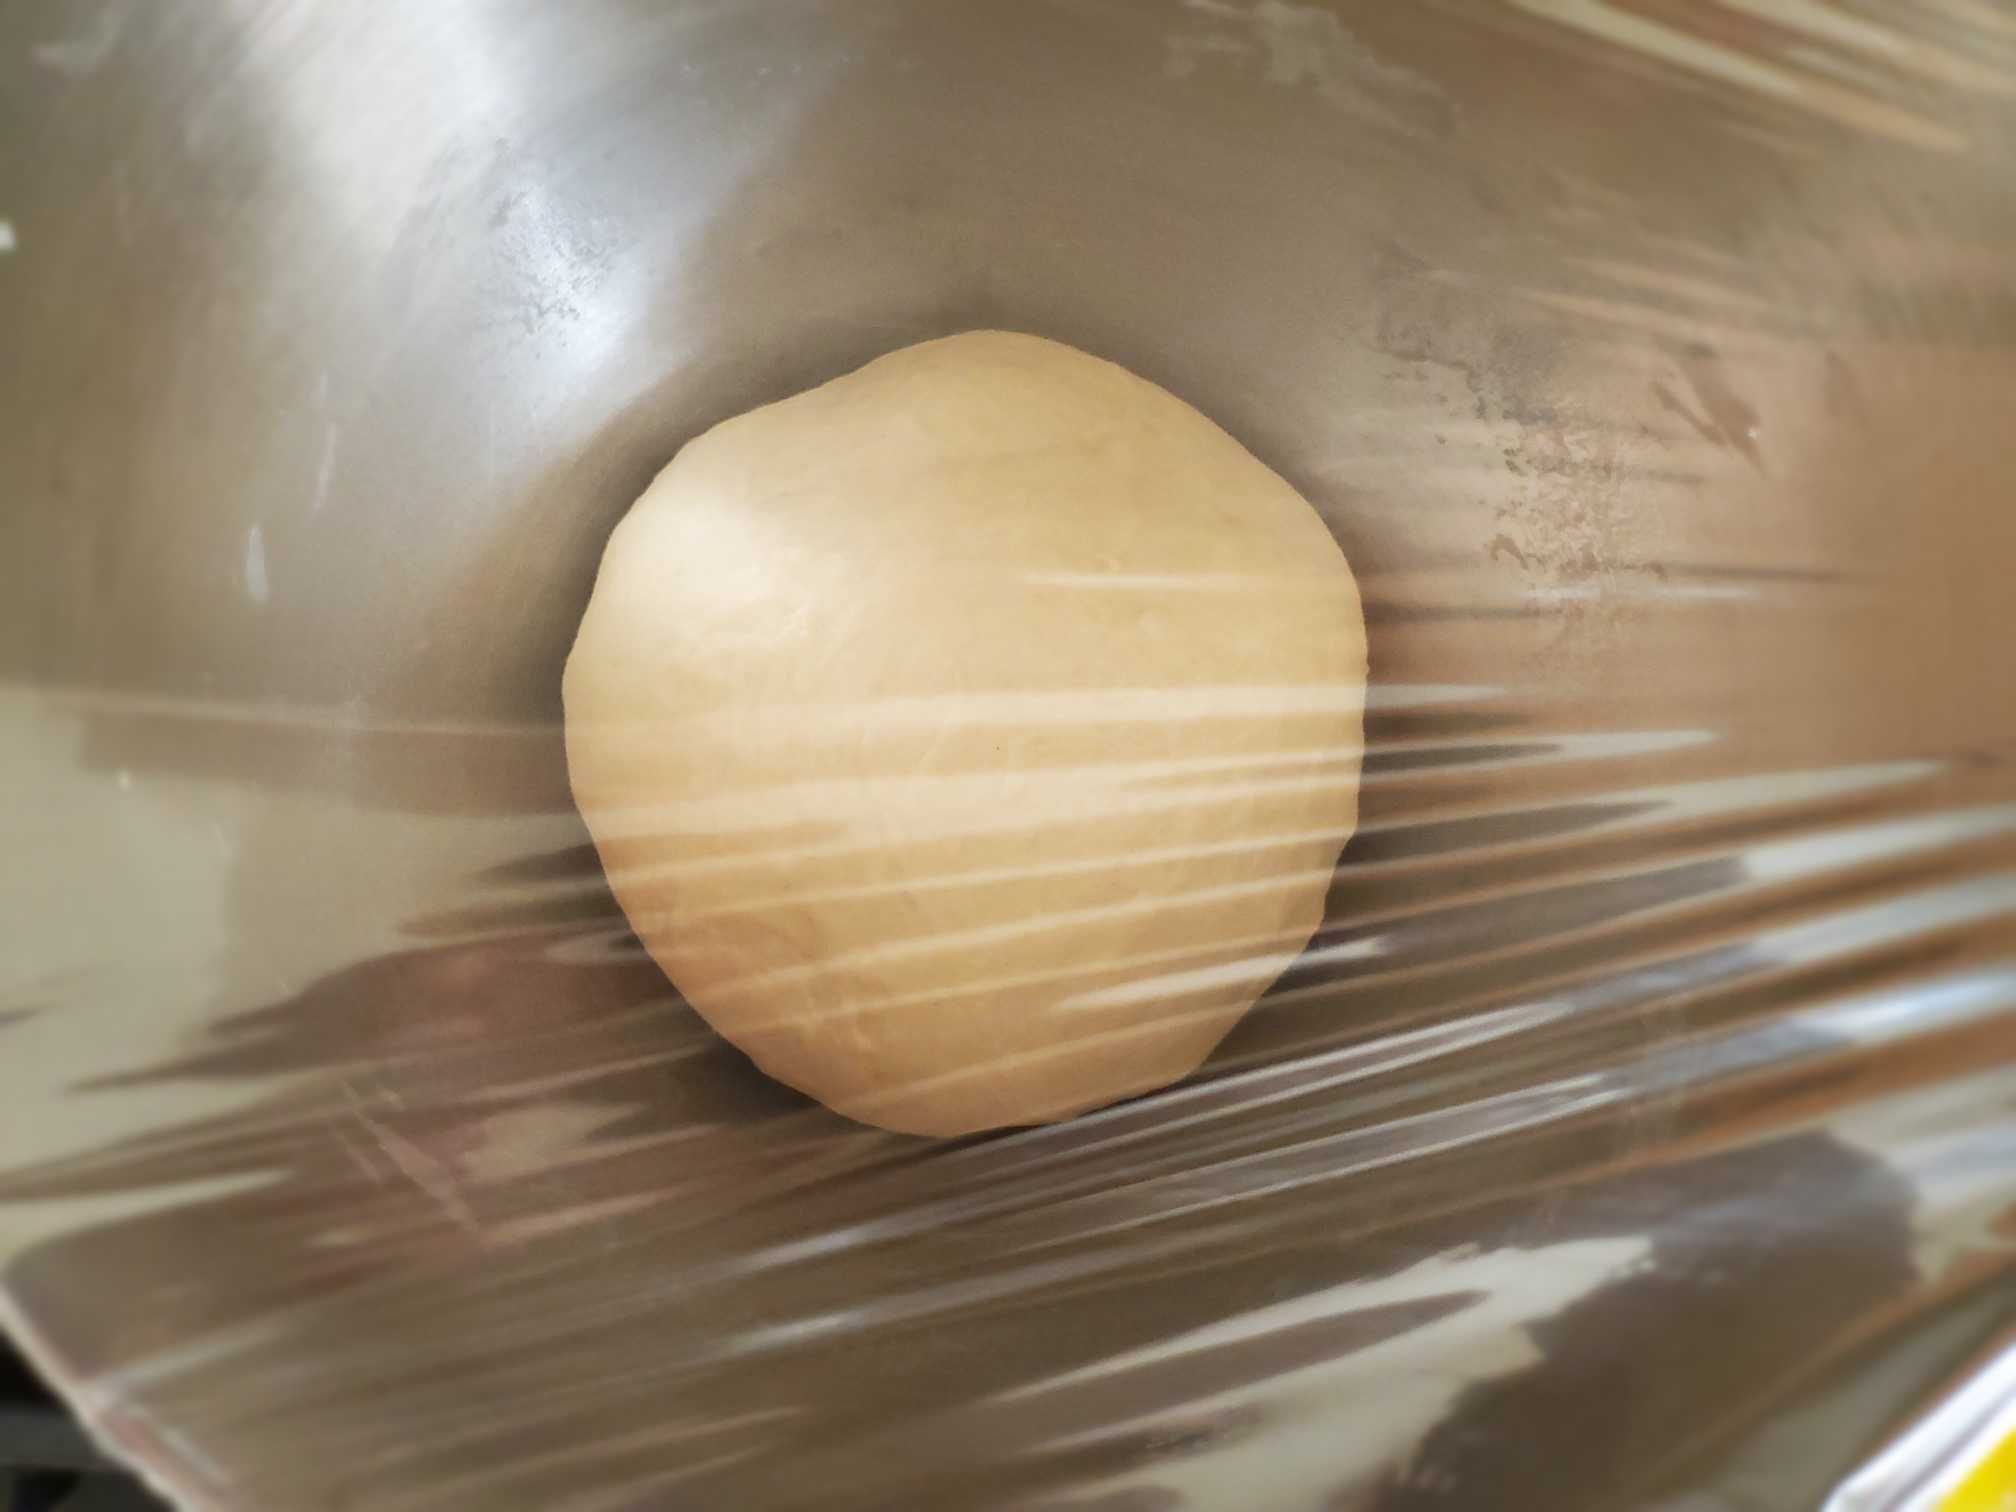
Do the windowpane test. When you stretch a small part of your dough using your fingers it should be able to stretch out to a very thin membrane that you can see through without treating or breaking it apart. If it breaks then keep kneading the dough until it passes this test.


First proof
-
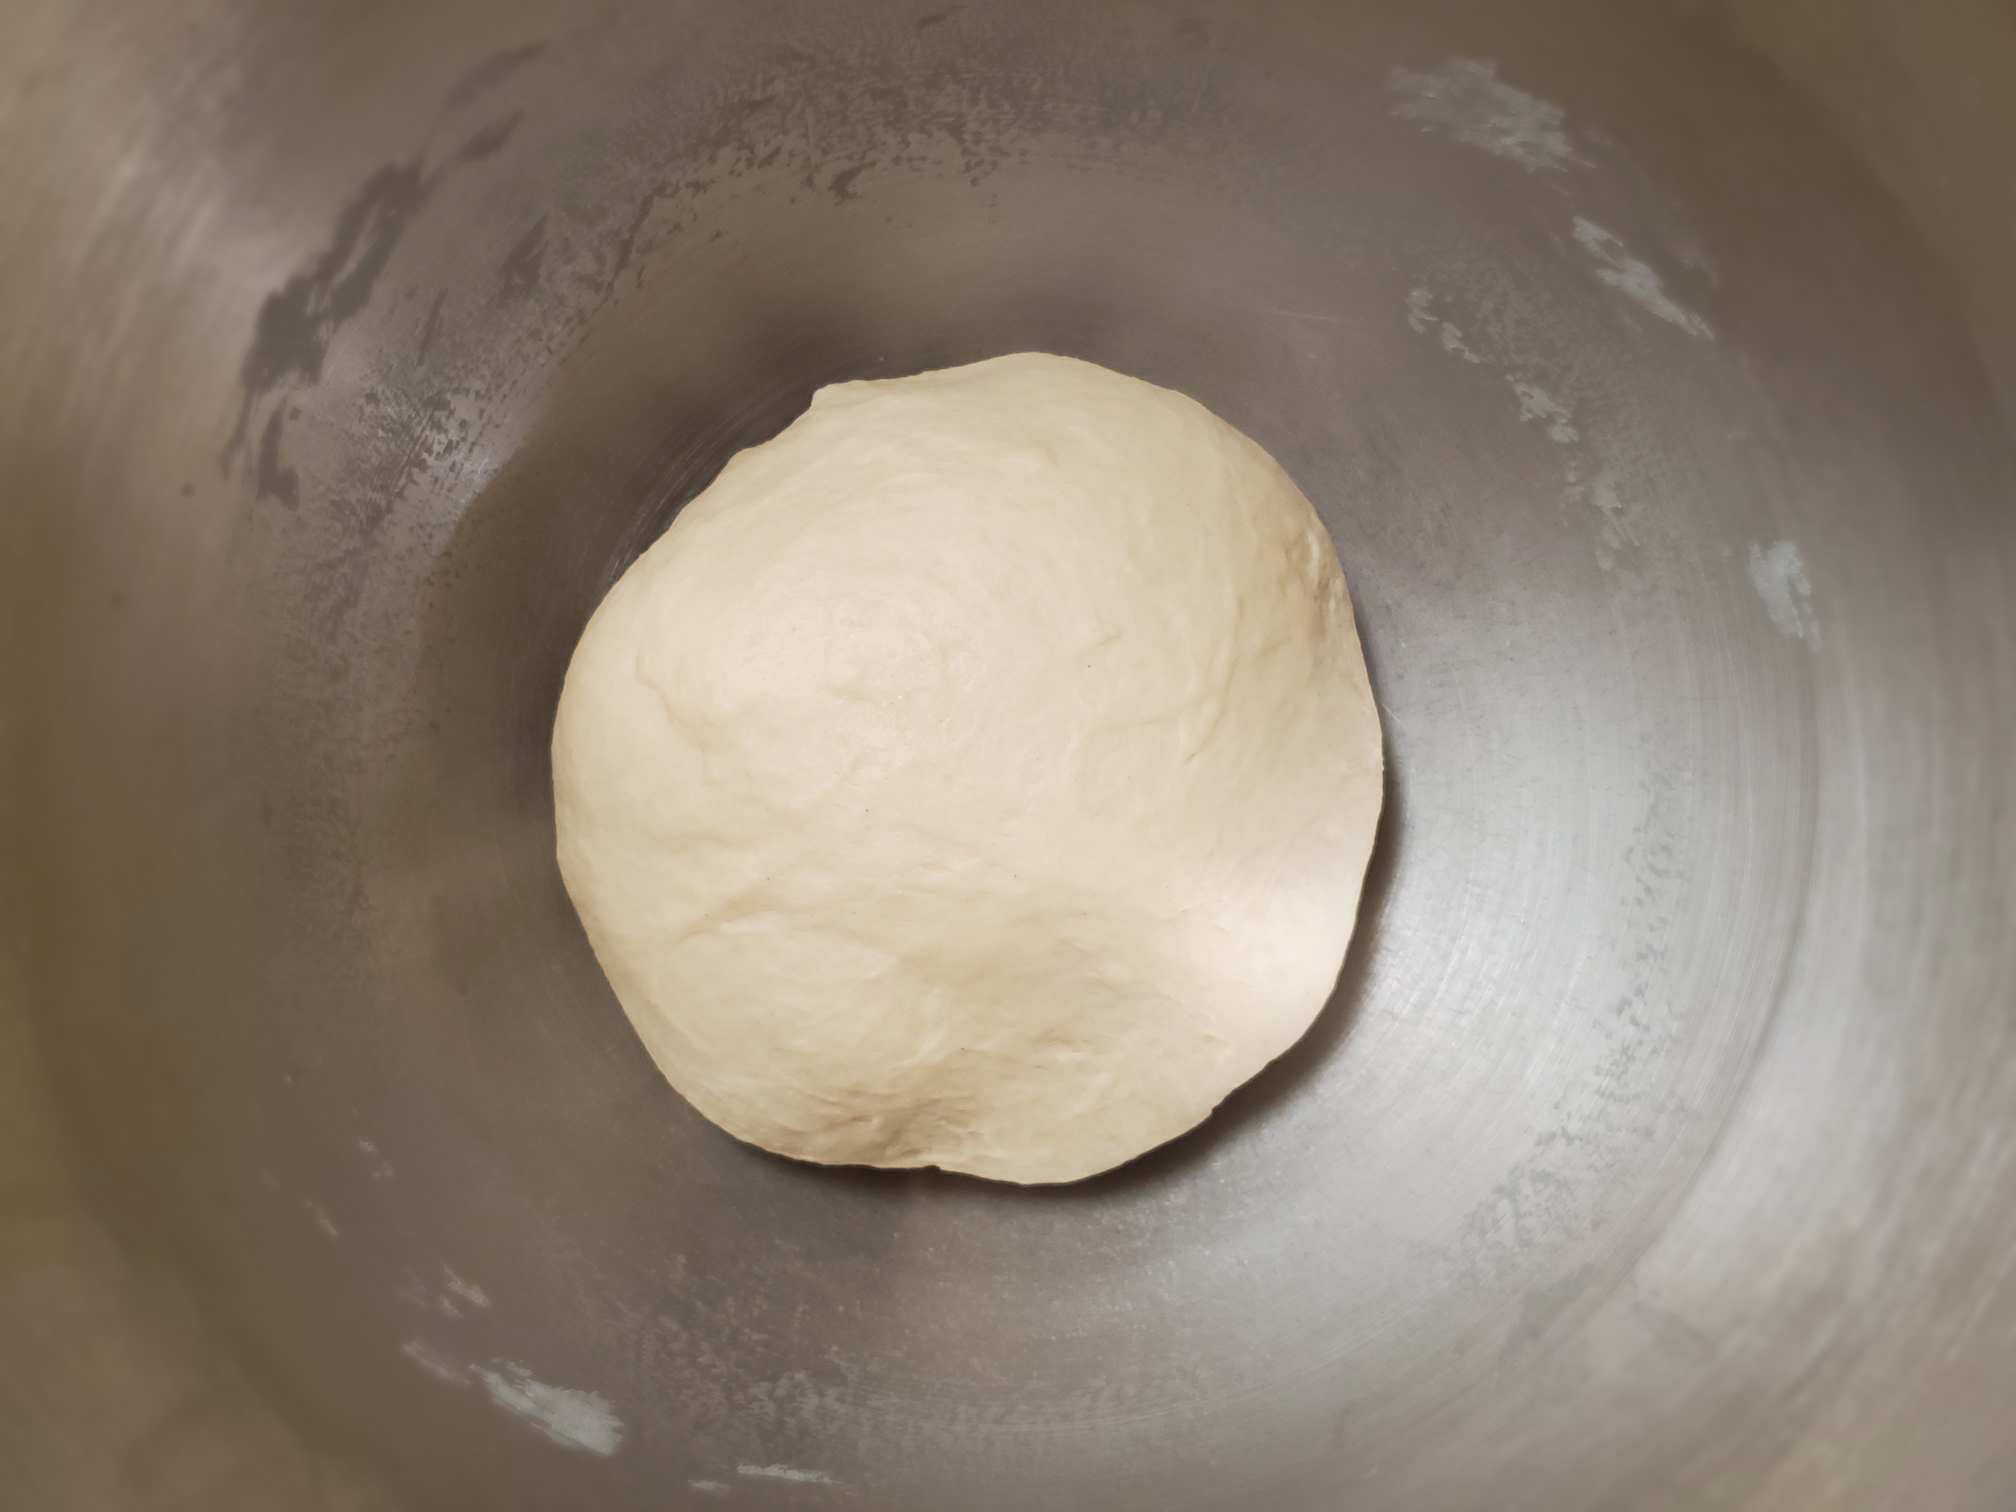
When the dough is kneaded then make it into a ball using your hands. Put it into a bowl.
-
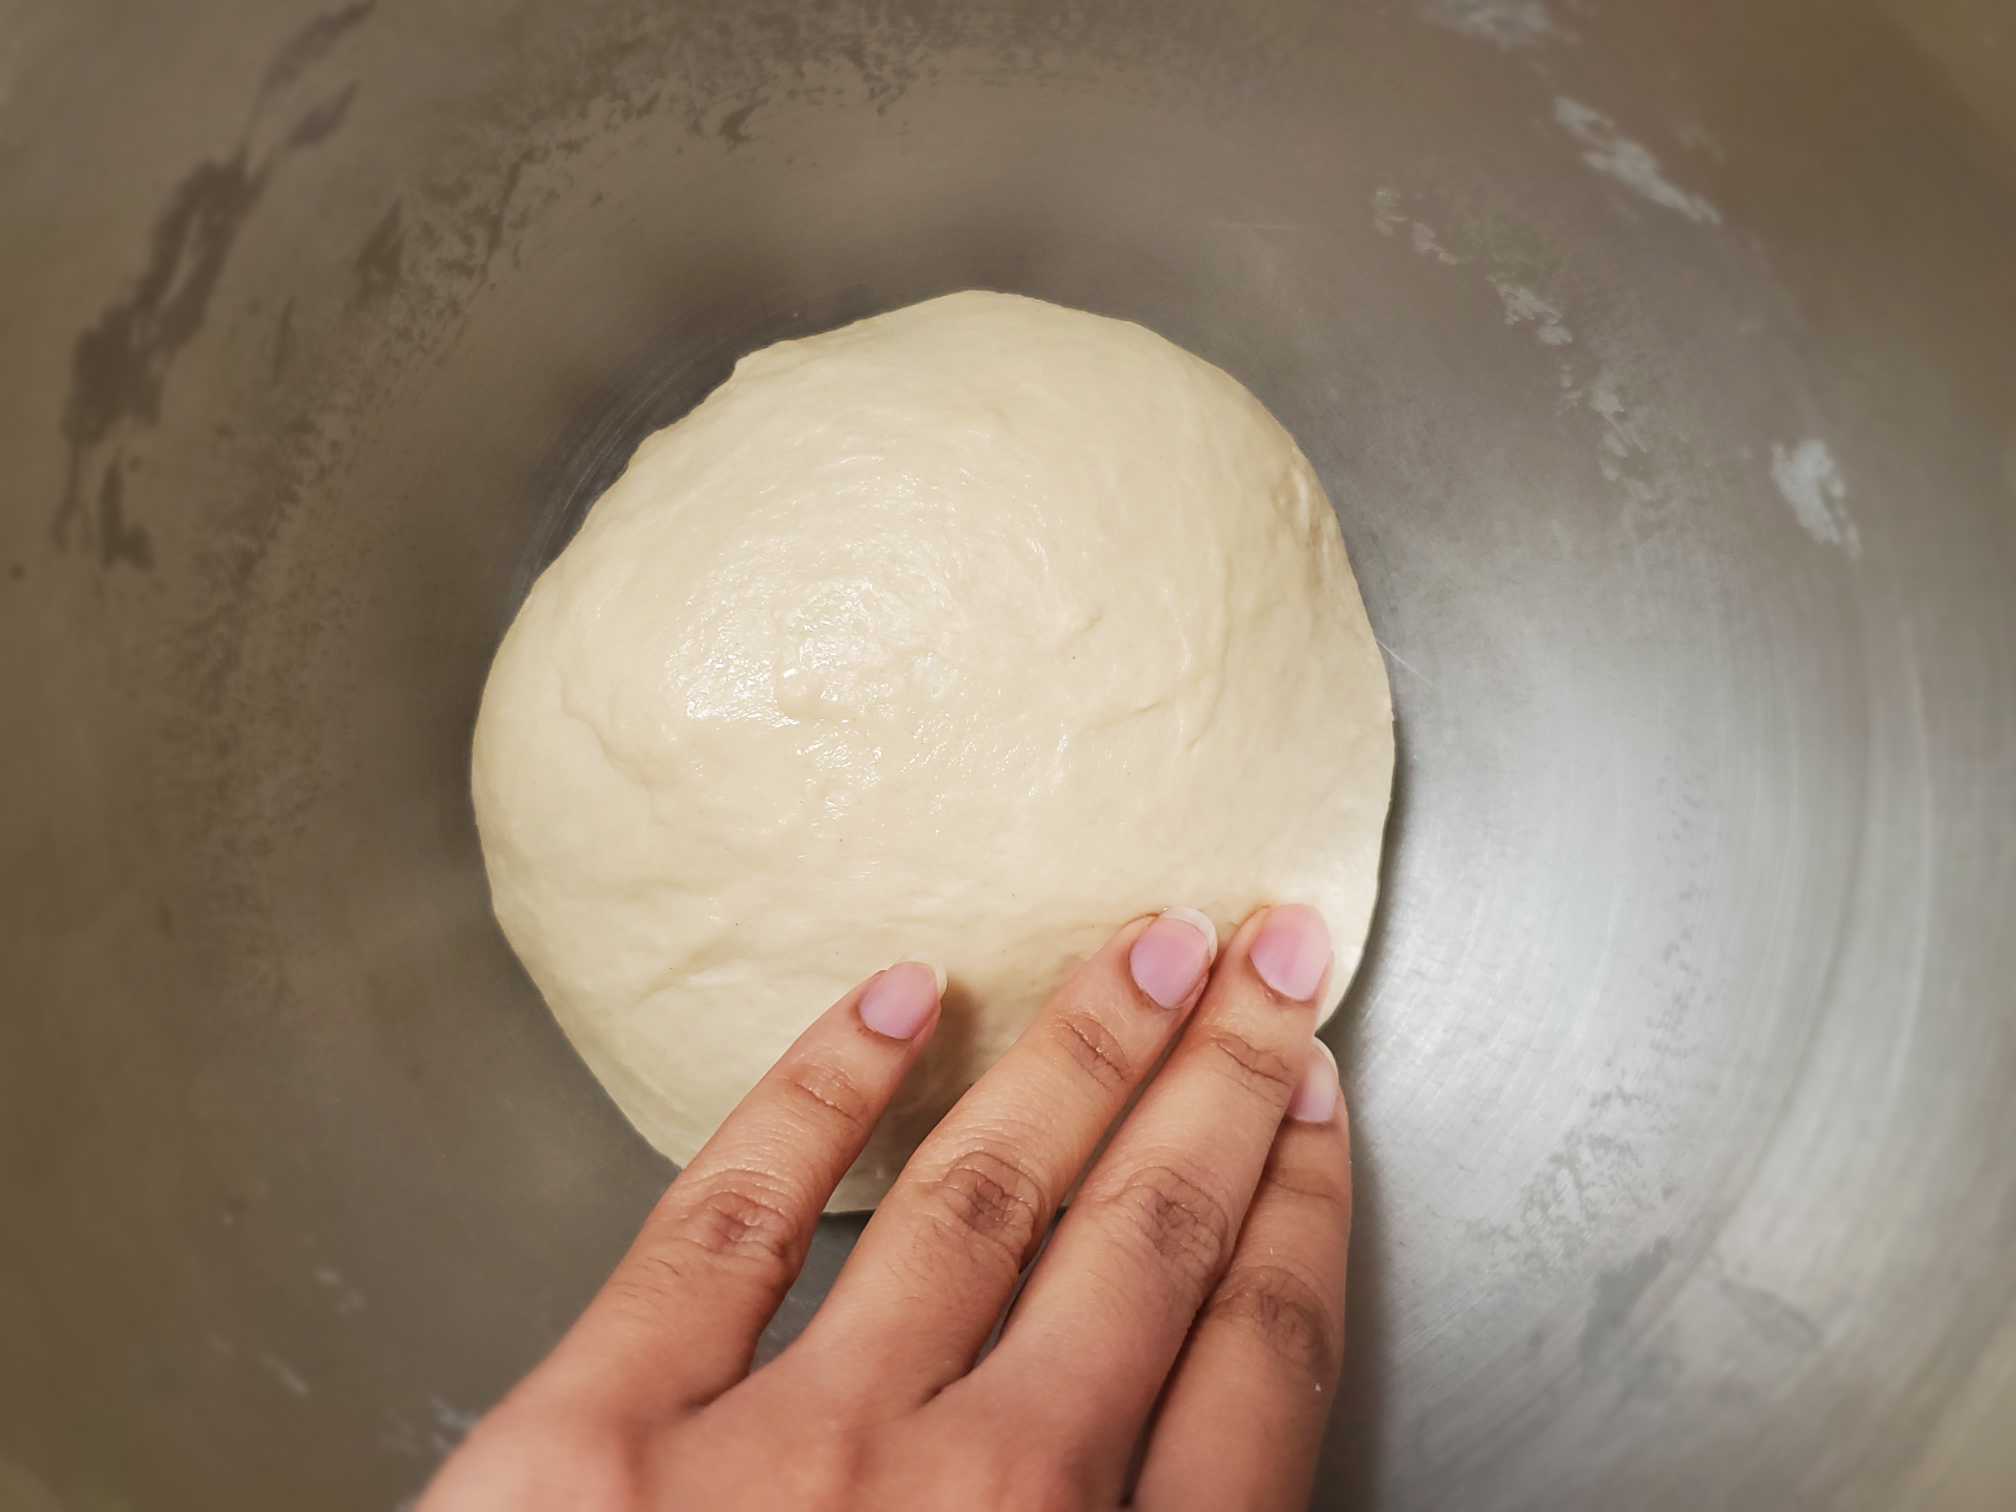
Add two drops of oil to the top and apply it evenly using your hands. So the top wouldn't dry out. You can add a few drops of oil to the bowl and apply it before you put the dough in. It would make it easier to get the dough out when it has risen.
-
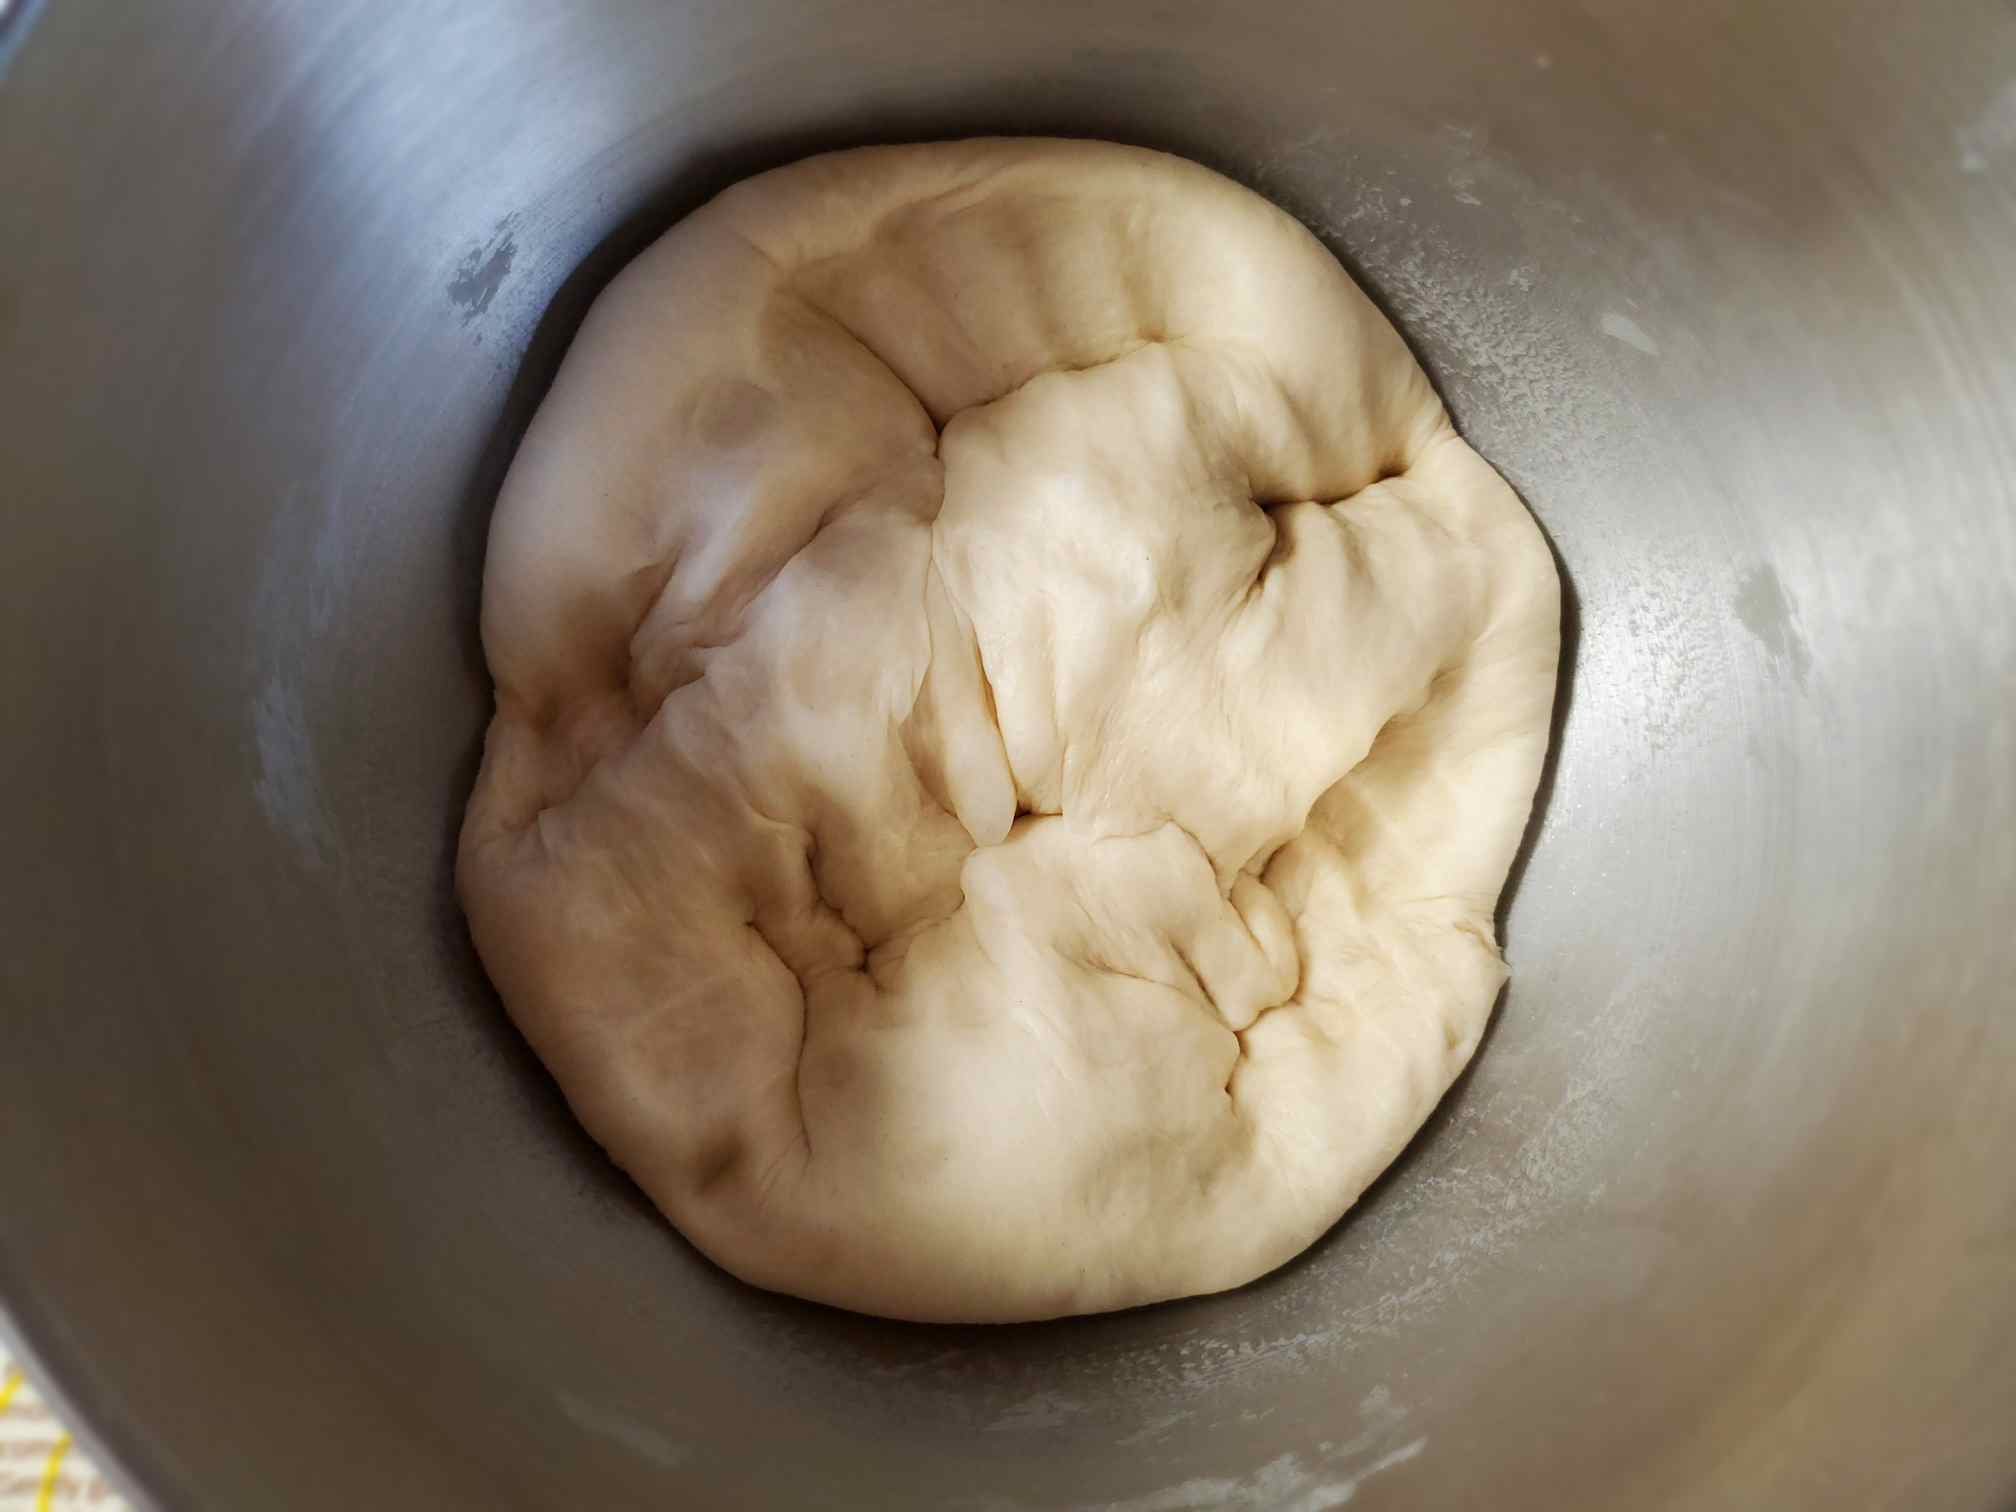
Then cover with a plastic wrap and leave it until it doubles in size for about 45min - 1 hour. The time may vary depending on the room temp and how active your yeast is.
-
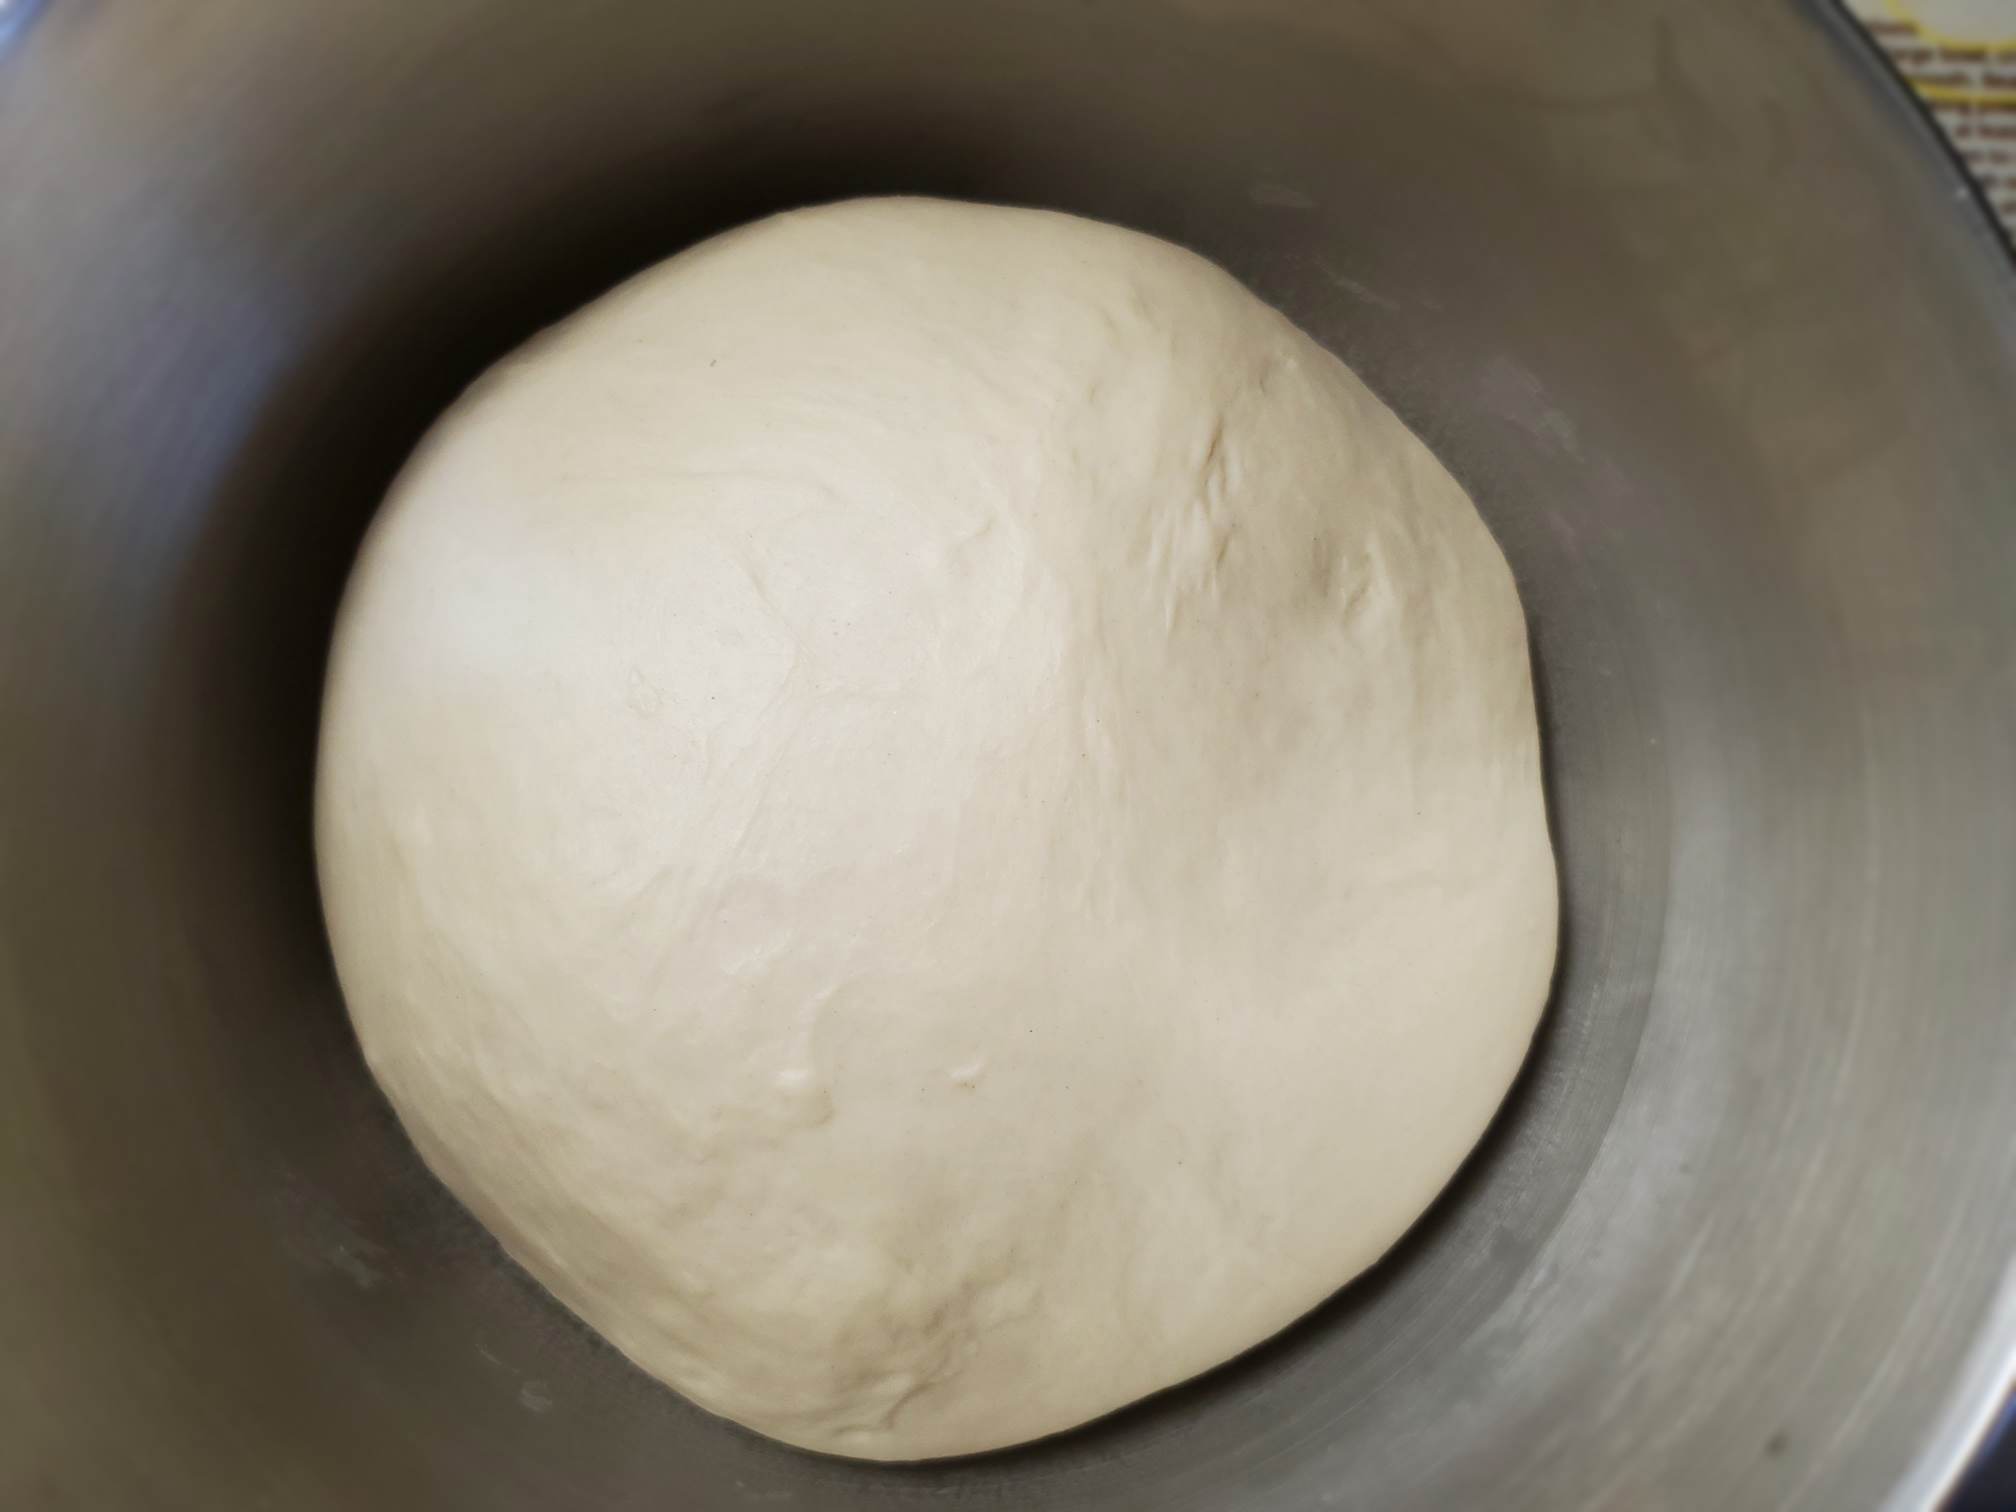
This is how it looks like after it's doubled.


Shaping
-
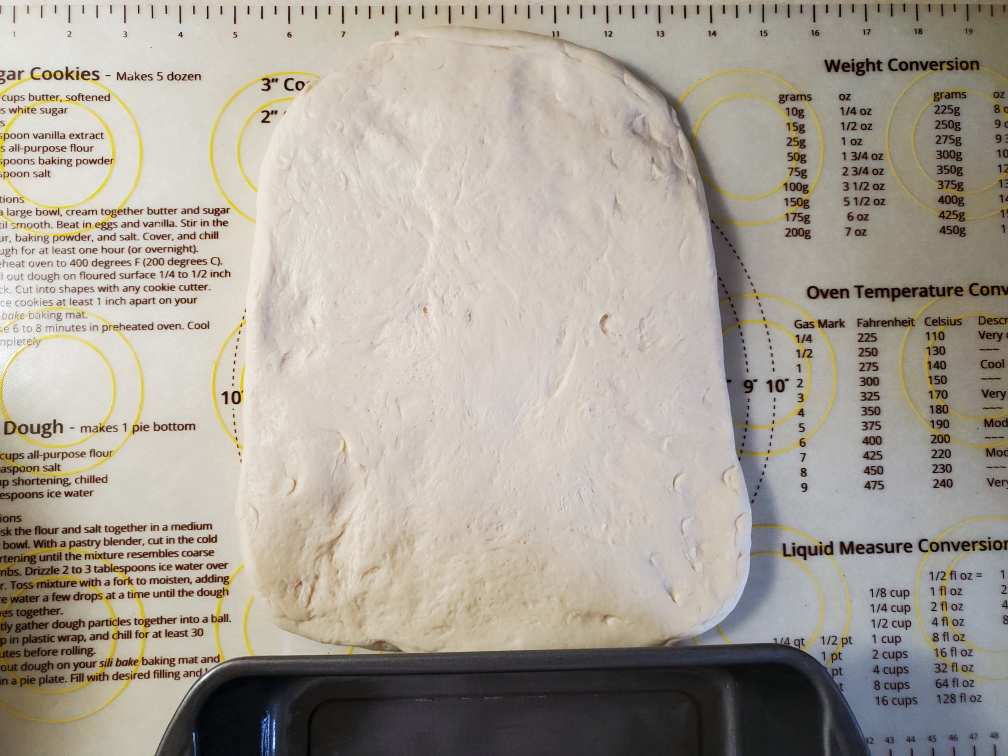
When it's doubled in size, punch down the dough to degas it. Then transfer it onto the benchtop.
-
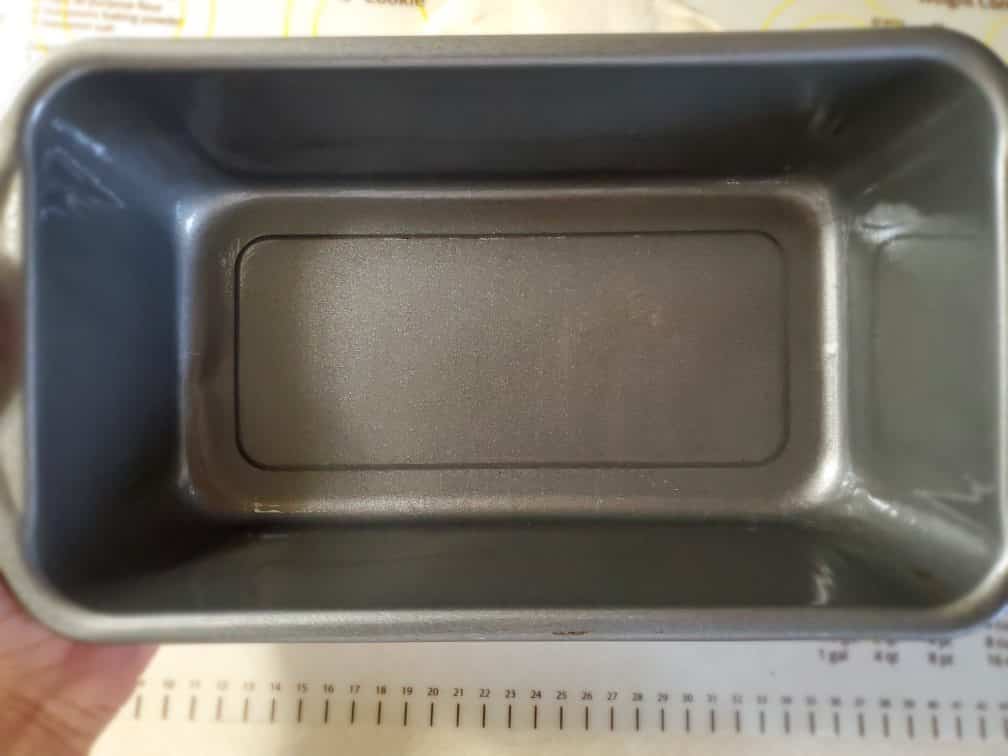
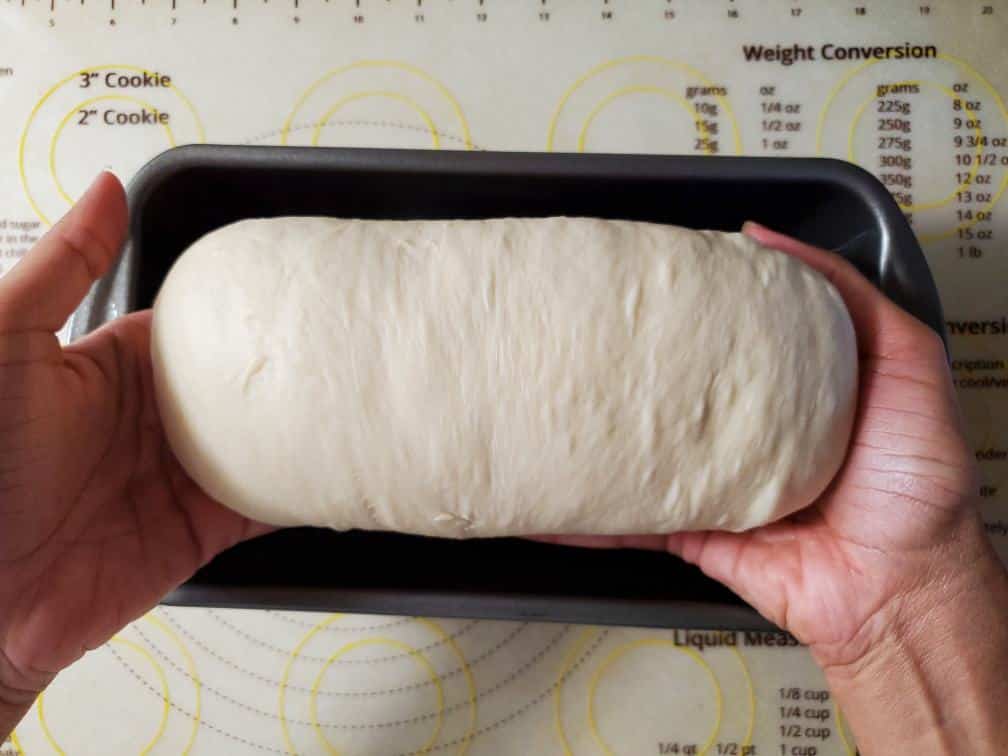
Also, apply butter or nonstick cooking spray to your bread pan. (I'm using a 9 * 5-inch bread pan.)
-
Stretch the dough into a rectangle. The width of the dough should be a little less than the width of the bread pan you're using. (see the photo) Turn the smooth side down.
-
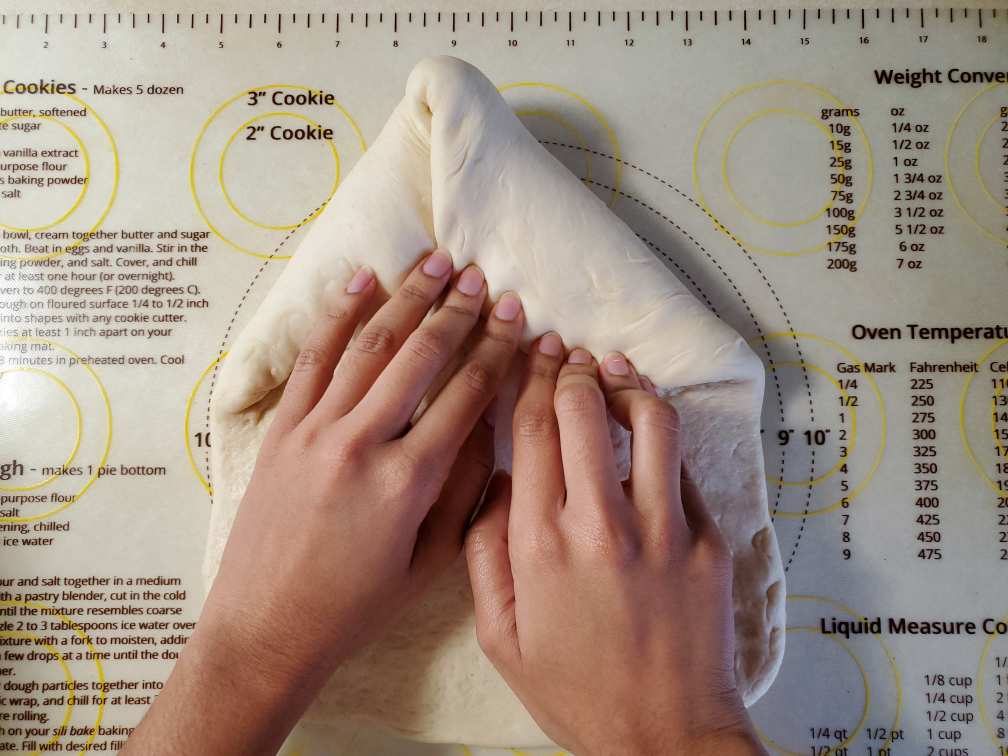
And then fold the top 1/3 to the middle in the shape of a triangle. Press the folds so they stick together.
-
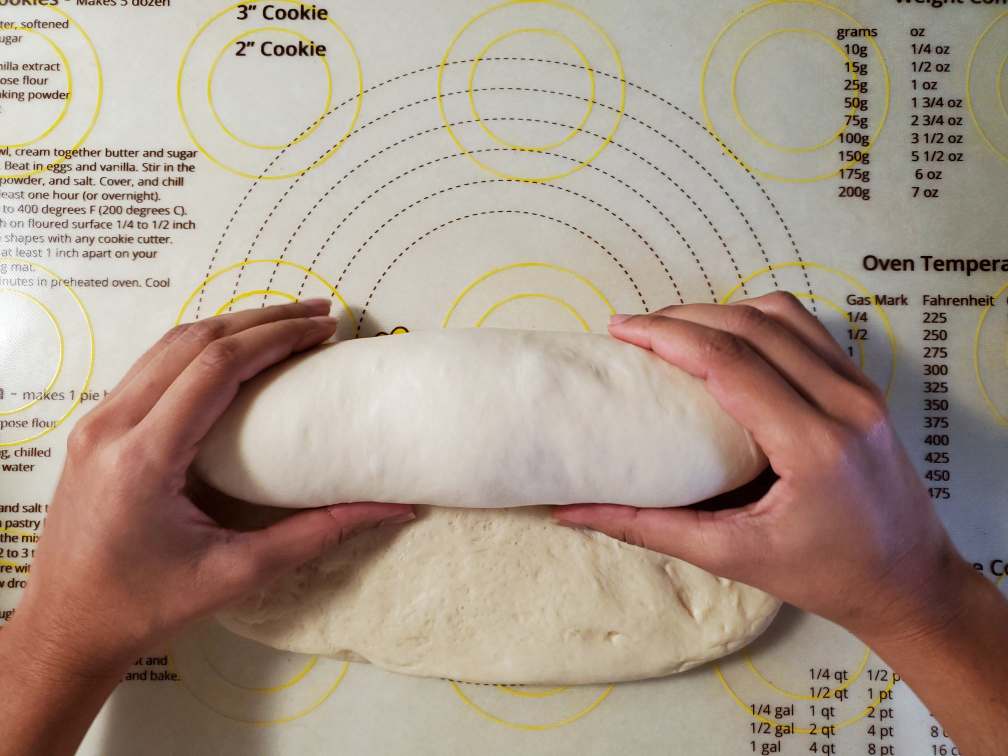
Then simply roll the dough into a log while pressing the dough with your thumbs in each fold.
-
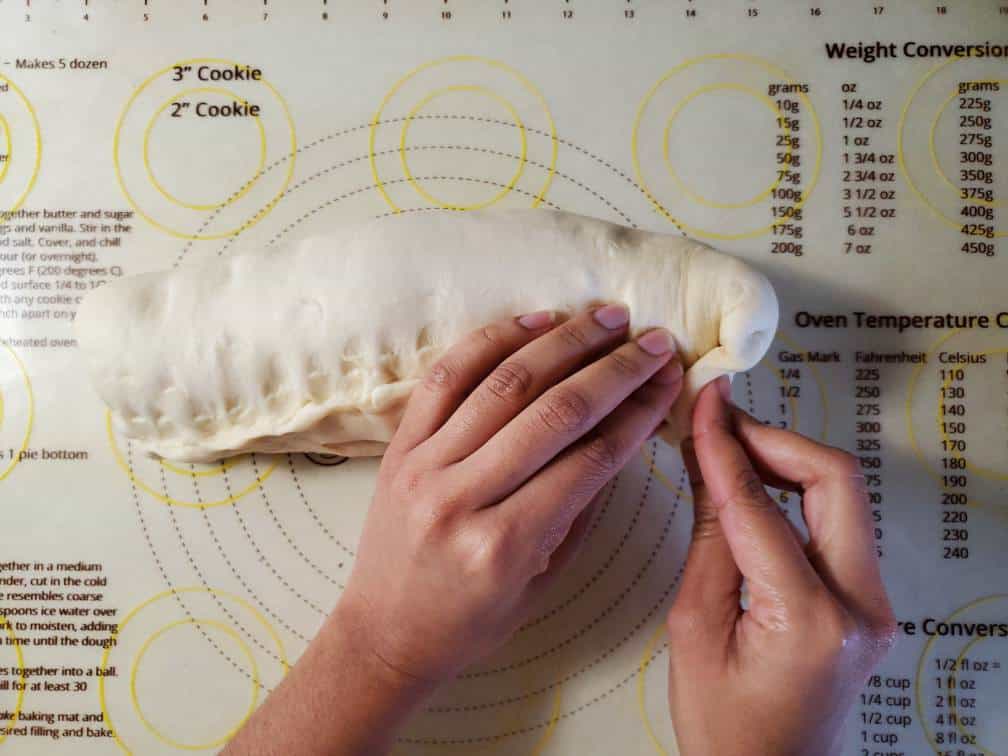
Pinch/press the ends to the dough.
-
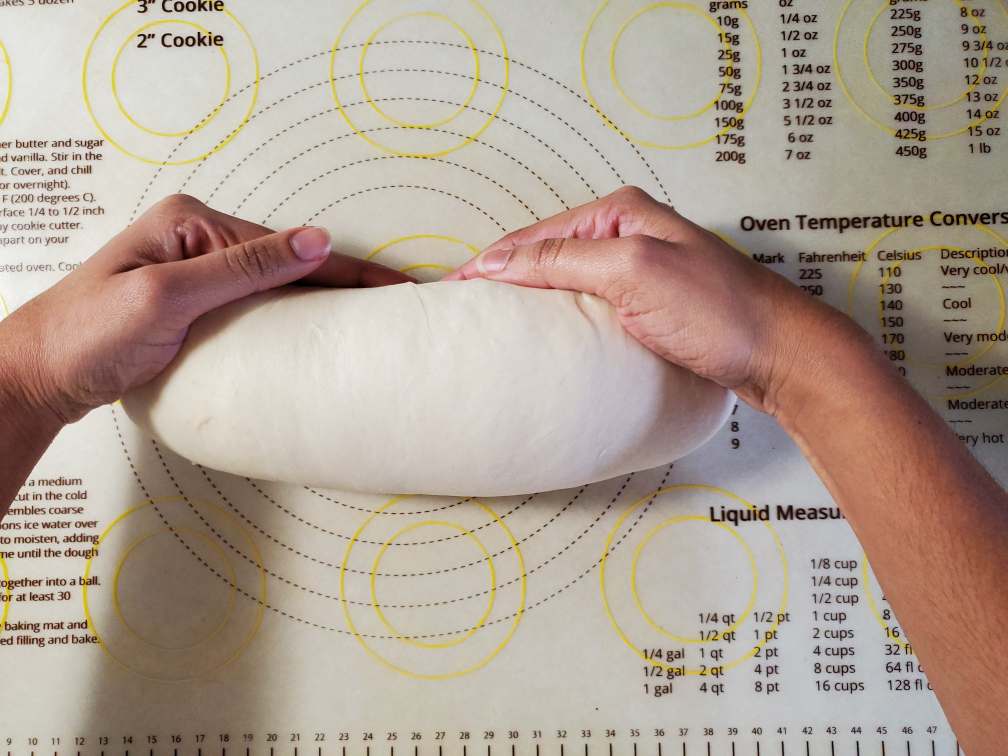
Drag the dough along the bench using your hands so the top would become stretchy and smooth. (optional step)
-
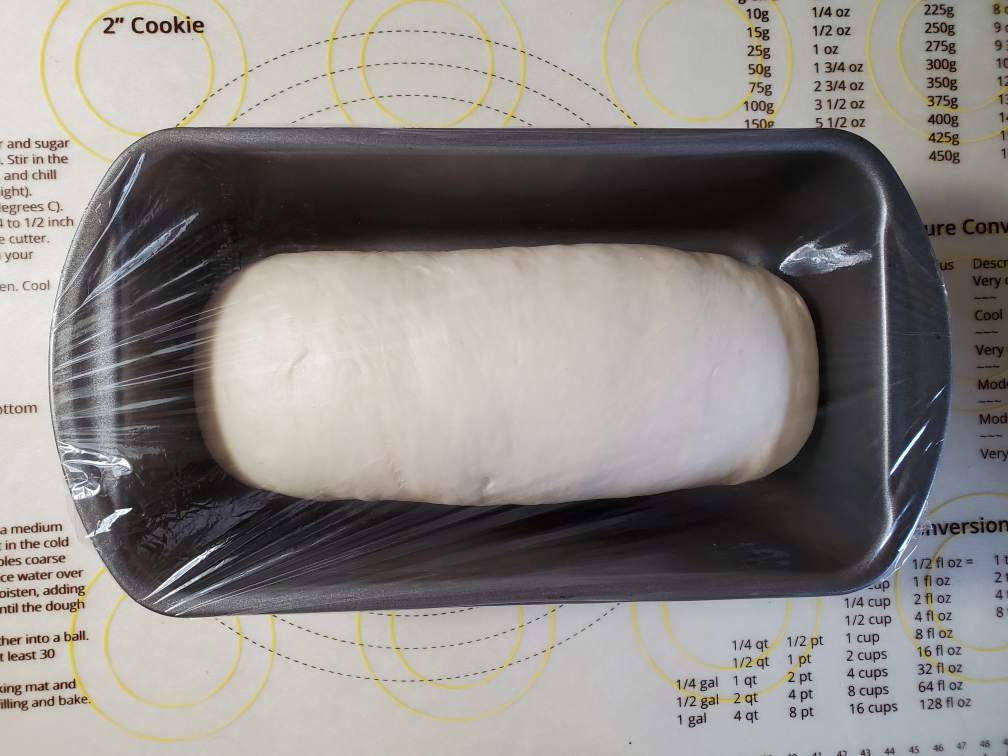
Transfer the dough to the bread pan.


Second proof
-
Cover the pan with a plastic wrap and let it rise again.
-
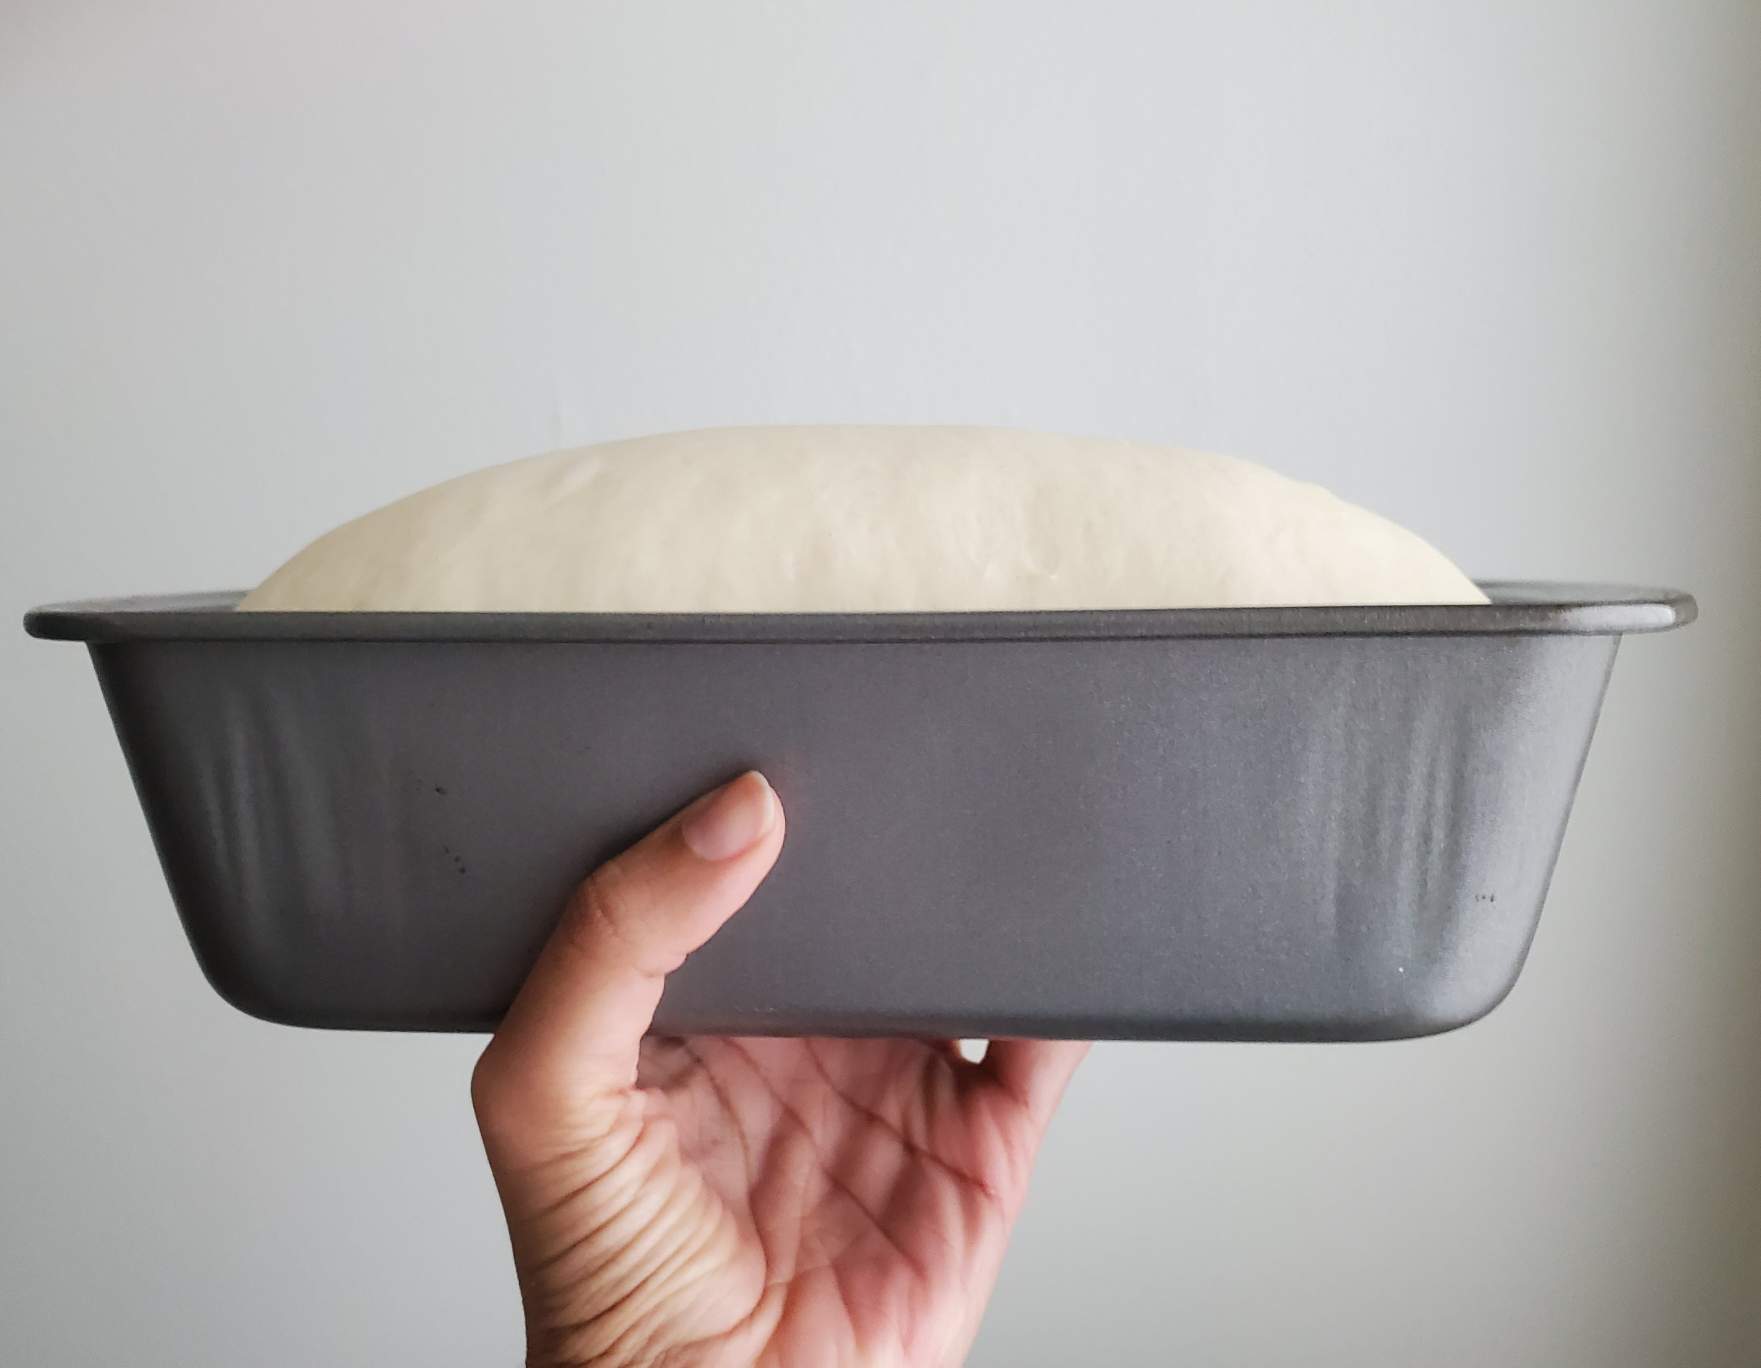
let it rise until the dough is about an inch higher than the rim of the pan (roughly about 40 to 45 mins. The time may vary depending on the room temp.) Also preheat the oven to 400F while the dough is still rising.


Baking and resting
-
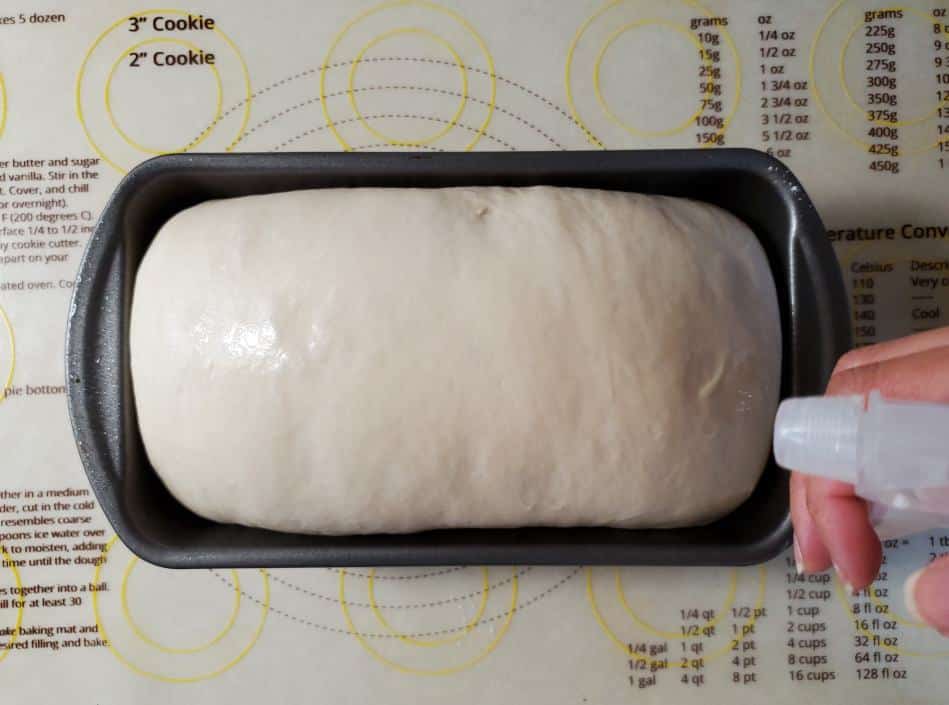
Spray or gently brush the dough with a bit of water. So it delays foaming a skin before the bread has properly risen in the oven.
-
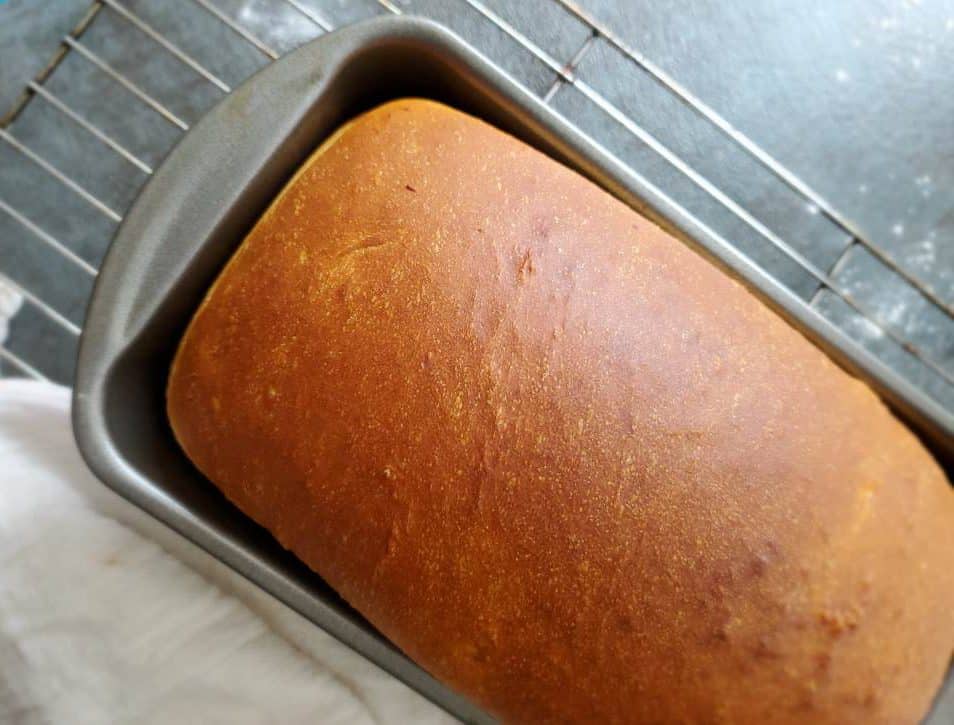
Bake it in the oven at 400f for 40min. If the bread is getting brown too quick then in about 15mins, take the dough out, quickly cover it with a piece of aluminum foil, and put it back into the oven. This happens mostly in convection ovens. If you have a thermometer, check the doneness by inserting it into the bread. The bread should be properly bakes when the inside of the bread reaches 190F or 88C
-
Wait until the bread cools down before you cut it. So the crumbs can set in.


Leave a Comment