
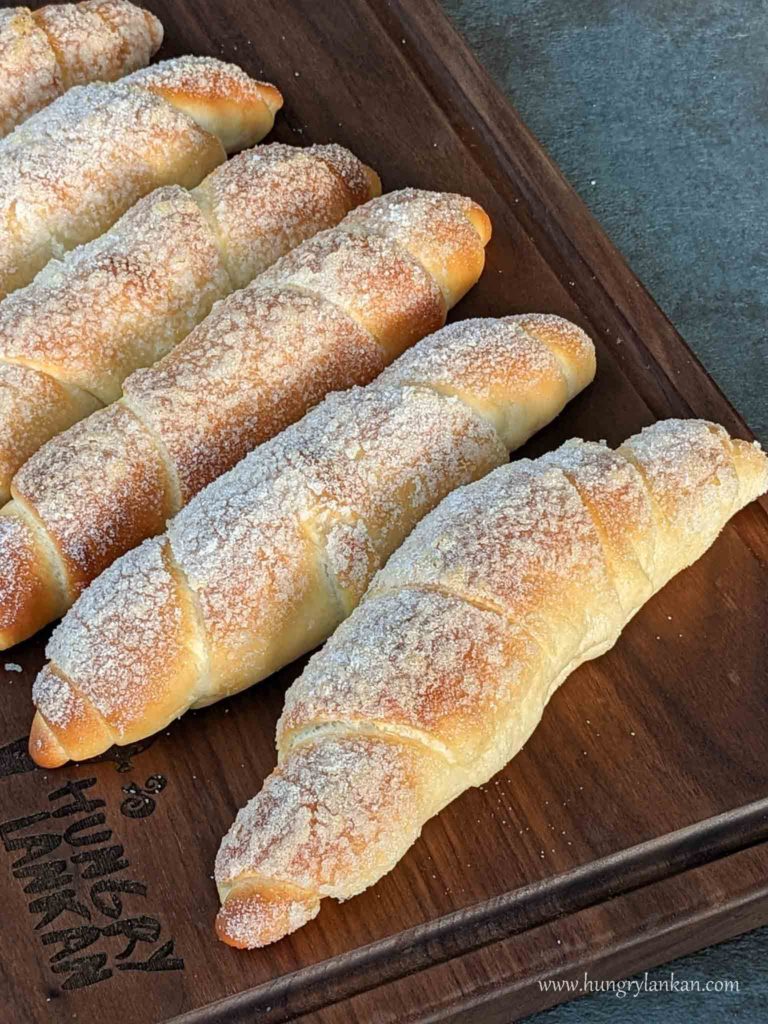
Try my fool-proof recipe to make perfect Sri Lankan Kimbula buns (Kimbula means crocodile) every time you try. They are soft and sweet and are one of my favorite bakery items to serve with tea or coffee.
Kimbula buns (or Kimbula Banis as we call it) literally translate into Crocodile buns. I promise you they have nothing to do with crocodiles other than their shape. I don’t know who came up with this brilliant name but they really look like crocodiles don’t they?
Growing up in Sri Lanka, Short-eats are our go-to snacks when we need to buy something filling, delicious and affordable. When you go to a Sri Lankan Short-eats shop you’ll find savory items like fish rolls, egg rolls, fish patties, pastries, fish buns and you’d also find sweet snacks like these Kimbula buns, cream buns, jams buns, and tea buns. Most Sundays we have short-eats for breakfast. If my dad is at home, he’s the one who usually goes to pick up food. Having a heavy sweet tooth he always, I mean ALWAYS goes for something sweet. Kimbula buns are his favorite. I’m not kidding, he can literally eat a Kimbula bun in four bites.
When I moved to the US, I missed having Sri Lankan short eats so much. And that’s when I started making them all by myself. I made all kinds of short eats (check my Instagram) except these Kimbula buns. One, I don’t have a sweet tooth so I always go for savory items. Two, for some reason, I thought Sri Lankan Kimbula Buns are so hard to make at home. But it turned out they are actually one of the easiest and quickest bakery items I’ve ever made.
Recipe overview
Kimbula buns making can be broken down into 6 easy steps.
- Making the dough
- First proof
- Dividing and resting the dough balls
- Shaping and second proof
- Coating with sugar
- Baking
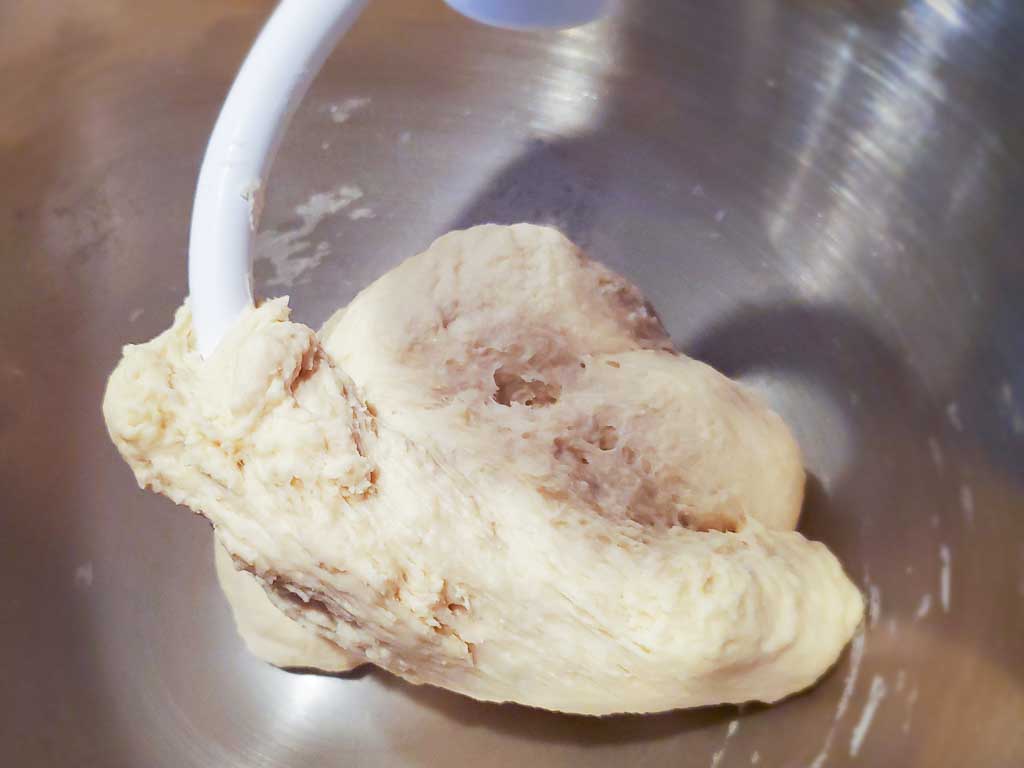
The Kimbula buns dough is much similar to your usual enriched bread dough. It’s very soft and very pliable and easy to work with. You can knead the dough by hand or with a stand mixer. If you knead the dough by hand, make sure to knead it until it’s very soft to the touch and doesn’t break apart when you stretch it. Kneading, and by that developing a good gluten structure is very important in this recipe. Otherwise, when you try to stretch the dough to a triangular shape, there’s a big chance that it’d break apart or have holes in it. The final product will also be denser in texture.
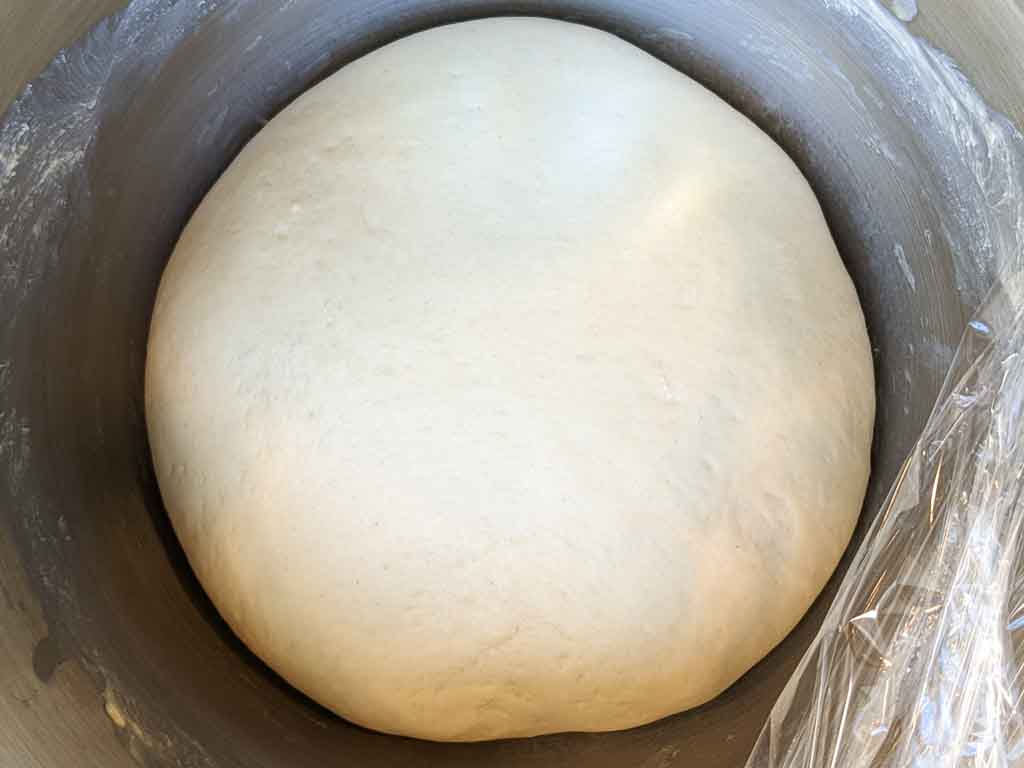
When the dough is ready, cover it and let it rise until it’s doubled in size. Roughly take around 45mins to 1hr 15mins depending on your room temperature. Focus more on the size and the feel rather than time.
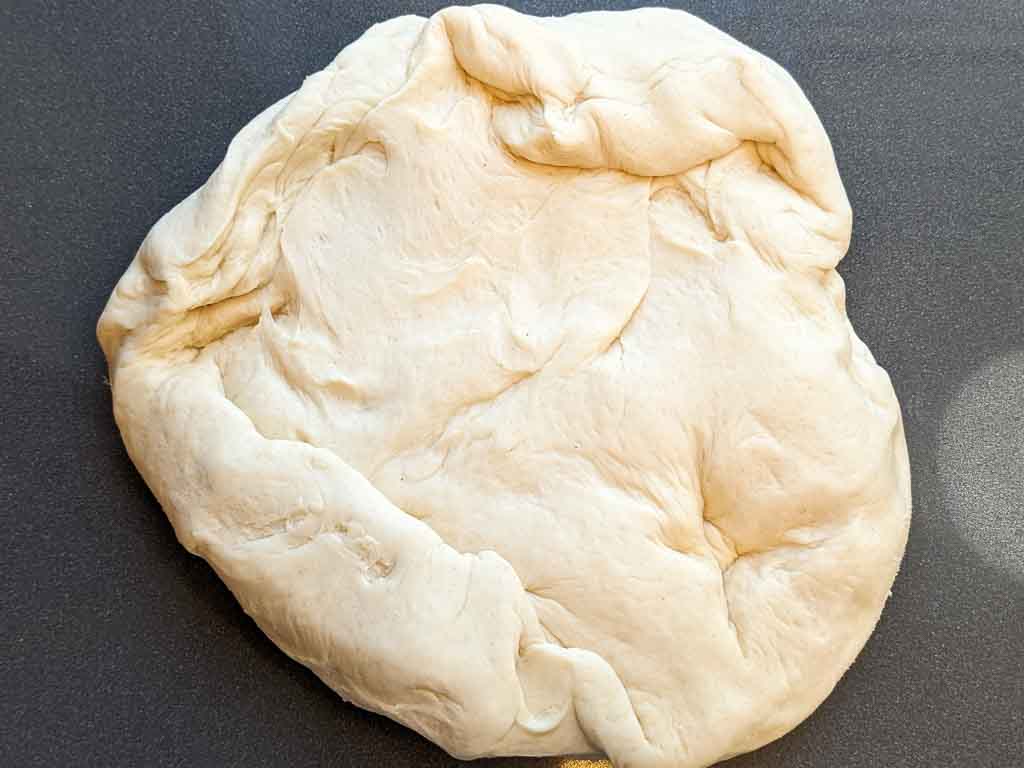
Then when the dough is doubled, you’re going to degas the dough and then cut the dough into equal pieces. Shape them into dough balls and let them rest. Resting the dough helps the gluten to relax. When the gluten is relaxed you can start shaping the dough into that crocodile shape. If the dough shrinks back when you stretch, it means your gluten is not relaxed and need a longer rest.
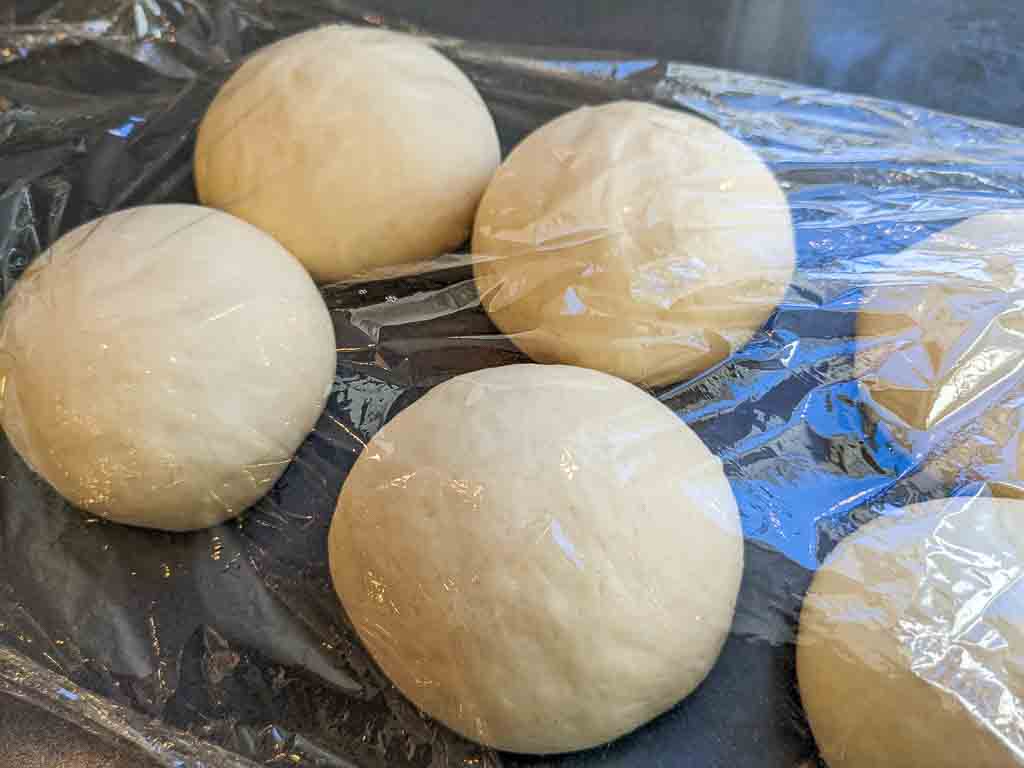
Cover all the shaped dough with a plastic wrap to keep them from drying out and making a skin on the top. Which can limit their ability to fully expand. Let them double in size again. Make sure they’re not over-proofed, otherwise they’ll collapse in the oven and will be much denser in texture.
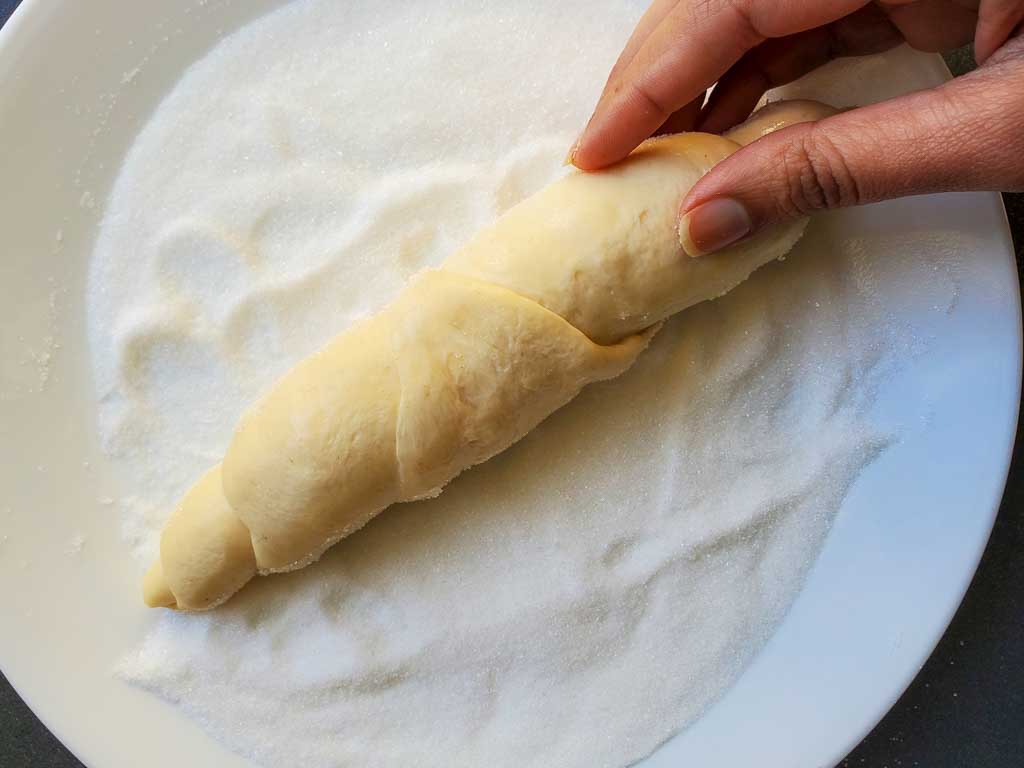
My favorite part of the Kimbula bun making process is coating them with sugar. I like to have a really good coating of sugar. So I apply water on top of the bun and then dip the bun in sugar. But you can sprinkle sugar on top too. If you choose to do the dip method, handle the dough very carefully. You should not deflate/degas the dough. If you’re a baking newbie, I recommend sprinkling sugar on the top instead of dipping the dough in sugar.
The last step is baking the buns. Make sure to turn on your oven to preheat at least 20mins prior to baking. Most ovens indicate that it has reached the temperature within 10 mins but in reality, it takes way longer than that. Cool down the buns on a baking rack for at least 10 – 15 mins to help the crumbs set.
More about Ingredients
Fresh milk is not a very common ingredient in Sri Lanka. Milk powder is. We grew up drinking tea made with milk powder every day. So to keep the recipe authentic, I use milk powder and water. If you don’t have milk powder, replace 50% of the water with lukewarm milk.
Also please note that I use Instant Dry/Fast acting/Rapid rise yeast in the recipe. With this yeast, you don’t have to activate it. You can just simply knead everything together. If you have active dry yeast make sure to activate the yeast first using the following method.
- add lukewarm water and 5g (1tsp) of sugar into the mixing bowl.
- Sprinkle active dry yeast on top. Let it sit there for 10 mins.
- It should be foamy and bubbly when it’s properly activated.
Always use a newly bought unopened sachet of yeast. If you use yeast jars make sure it’s not expired and also has been stored in a proper place. The best place to store opened jars of yeast is your freezer, not the refrigerator.
Use good quality butter for great-tasting Sri Lankan Kimbula buns. I use unsalted butter but you can use salted butter as well. Since it’s a small amount it won’t make much of a difference in flavor.
The rest of the ingredients I use in this recipe are pretty standard and usually available in any grocery store. If you have any questions, please feel free to post in the comment section at the end of the post.

How to serve Kimbula Buns
The best is to serve these delicious Kimbuls Buns is with some good Sri Lankan tea (Ceylon tea) or Milk tea. Good as a breakfast, afternoon snack, tea-time snack, or even for Kids’ lunch boxes.

Sri Lankan Kimbula Buns
Description
Try my fool-proof recipe to make perfect Sri Lankan Kimbula buns (Kimbula means crocodile) every time you try. They are soft and sweet and are one of my favorite bakery items to serve with tea or coffee.
Ingredients
For the dough
For the sugar coat
Instructions
Making the dough and first proof
-
Add warm water to the mixing bowl. Sprinkle instant yeast on the top. See if yeast starts to make foam around the edges. (This step is optional but I always do this to check if my yeast is active.) Add the rest of the ingredients and knead for 10 mins in the mixer. Or by hand for about 20 mins until the dough is smooth, stretchy, and pliable. The dough should be a little tacky but not sticky. If it's sticky, add 1 tbsp flour at a time and knead again.
-
Take the dough out. Make it into a ball. Apply a thin coating of melted butter or oil, all around the dough and put it back in the mixing bowl. Cover the bowl with a cling wrap and leave it on the counter until it's doubled in size. Roughly take about 45mins - 1 hour.
Diving the dough and resting
-
When the dough is doubled in size, degas the dough by punching it down. Transfer the dough onto the counter.
-
Divide the dough into 8 equal size pieces, roughly around 90g - 100g each.

-
Make each piece into small dough balls. Arrange them on the counter, seam side down.
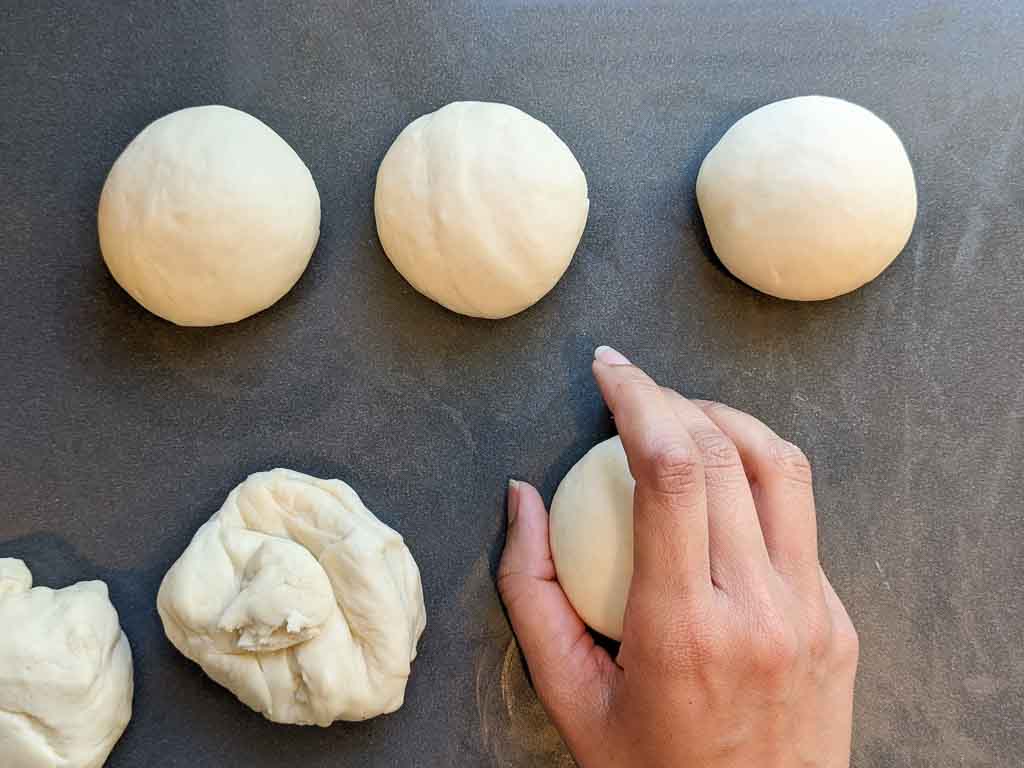
-
Cover them with a cling wrap and let them rest for about 15 - 20 mins. This makes it easier to stretch the dough in the next step.
Shaping the buns and second rise (Watch the video)
-
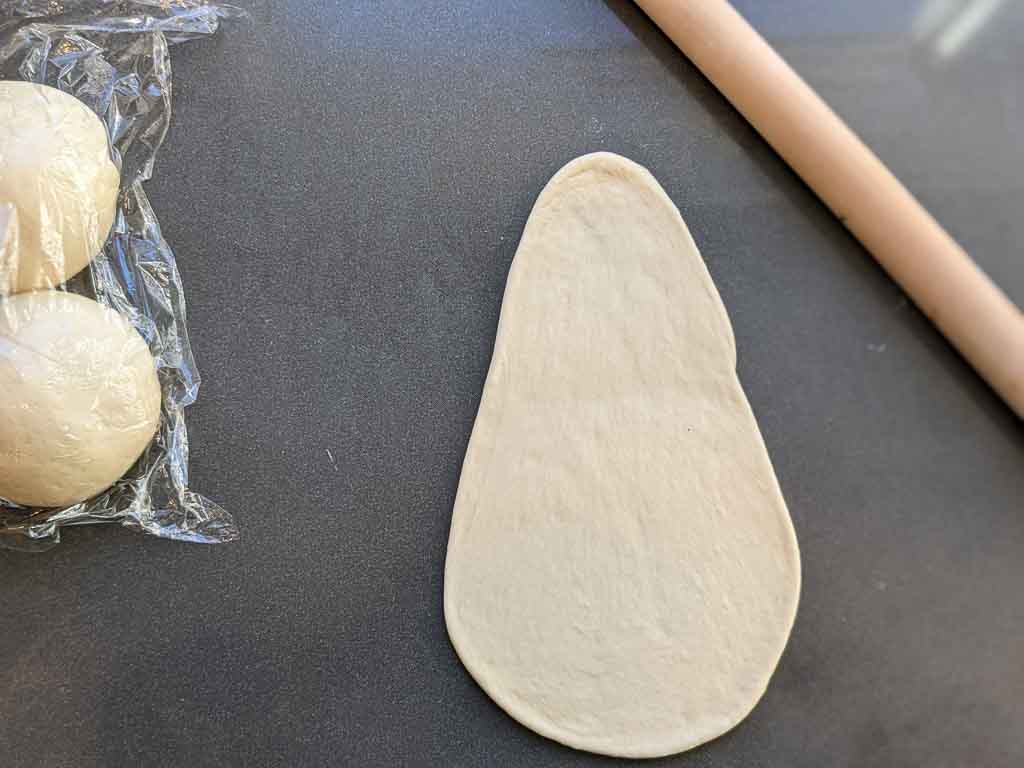
Take one dough ball out. Flat the dough with your palm to remove any gas. Now roll the dough into a oval-triangular shape using a roling pin. (optional step: Flip the dough upside down so the seam side comes on top and smooth side goes down. Which helps to have a smooth finish in the finished product)
-
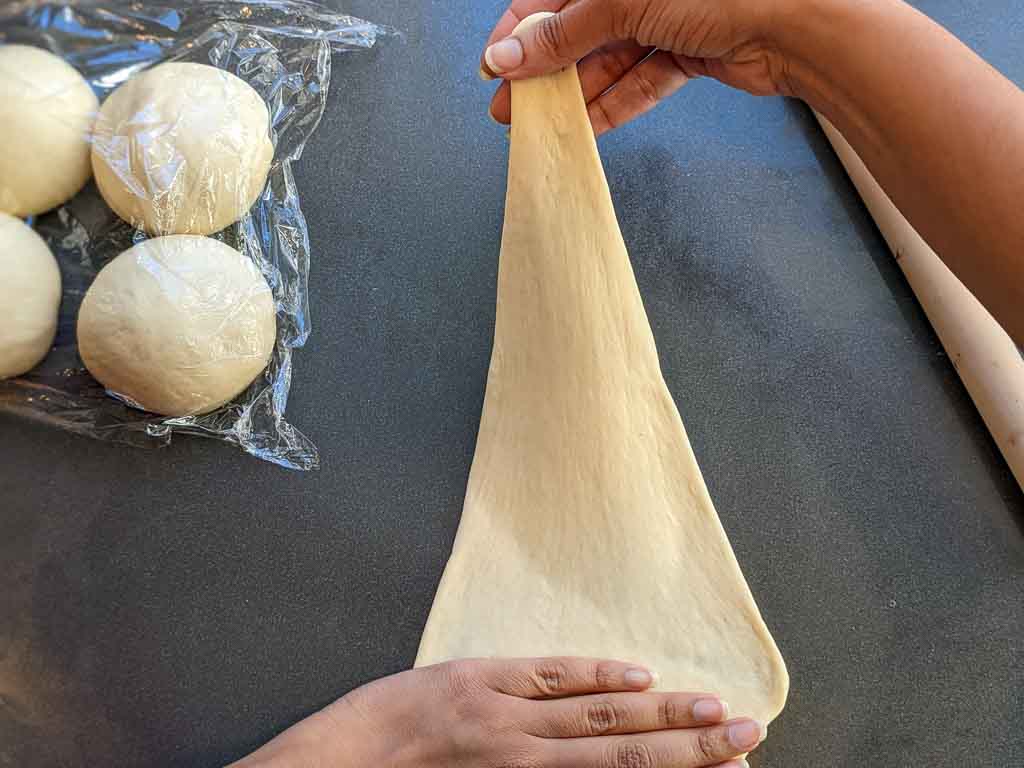
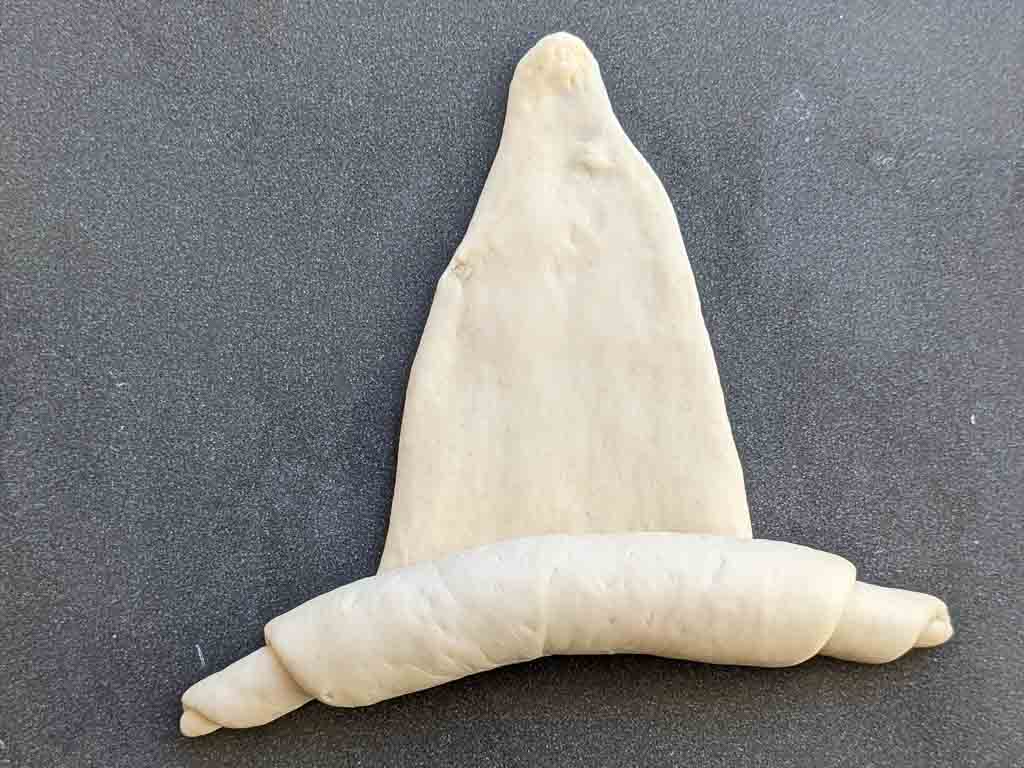
Now hold flat the base of the triangle with one hand. Lift the dough a little up from the tip of the triangle. Stretch the dough slowly using your other hand until it's about 12 inches long. In case you have tears when you stretch, press the seams together with your fingers to patch them up.
-
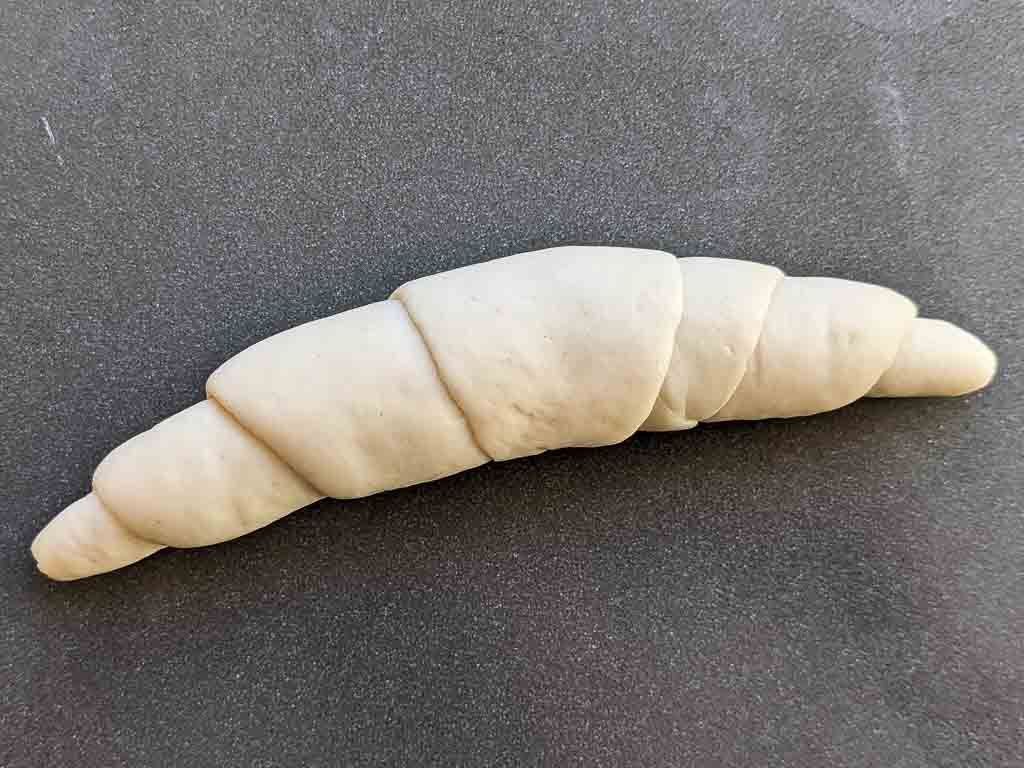
Roll the dough from the base of the triangle to the tip. Stretch the tip a little bit and press it to the dough so it sticks better.
-
roll the dough back and forth with your palms a few times until the edges become smoother and stick better to the dough.
-
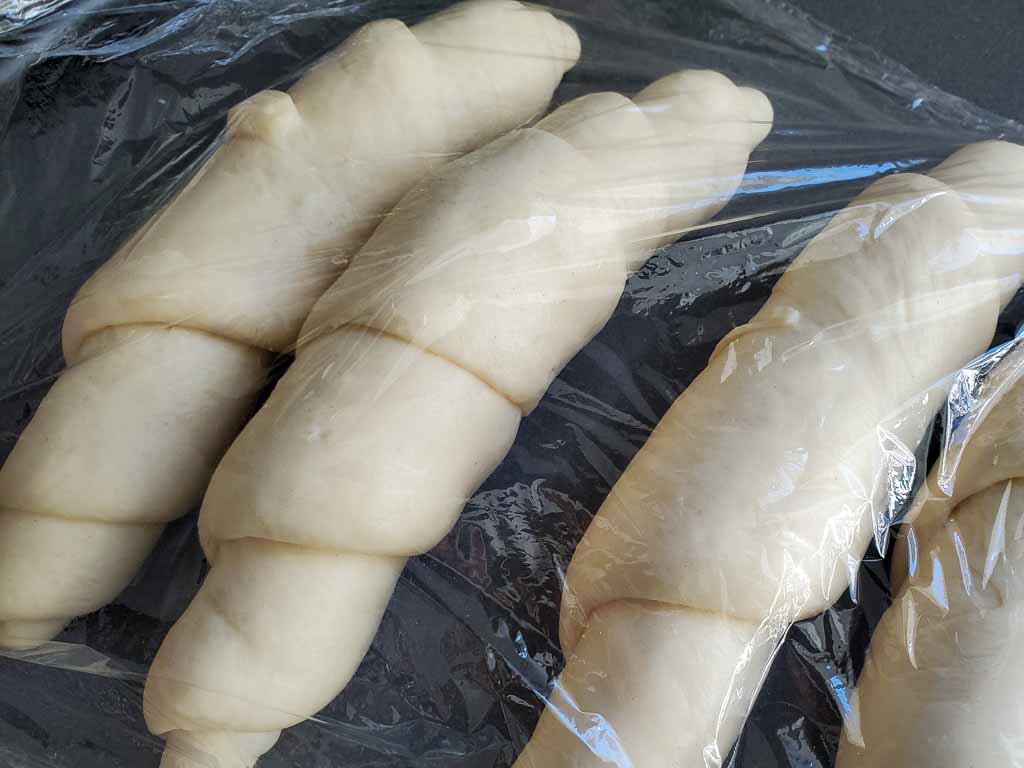
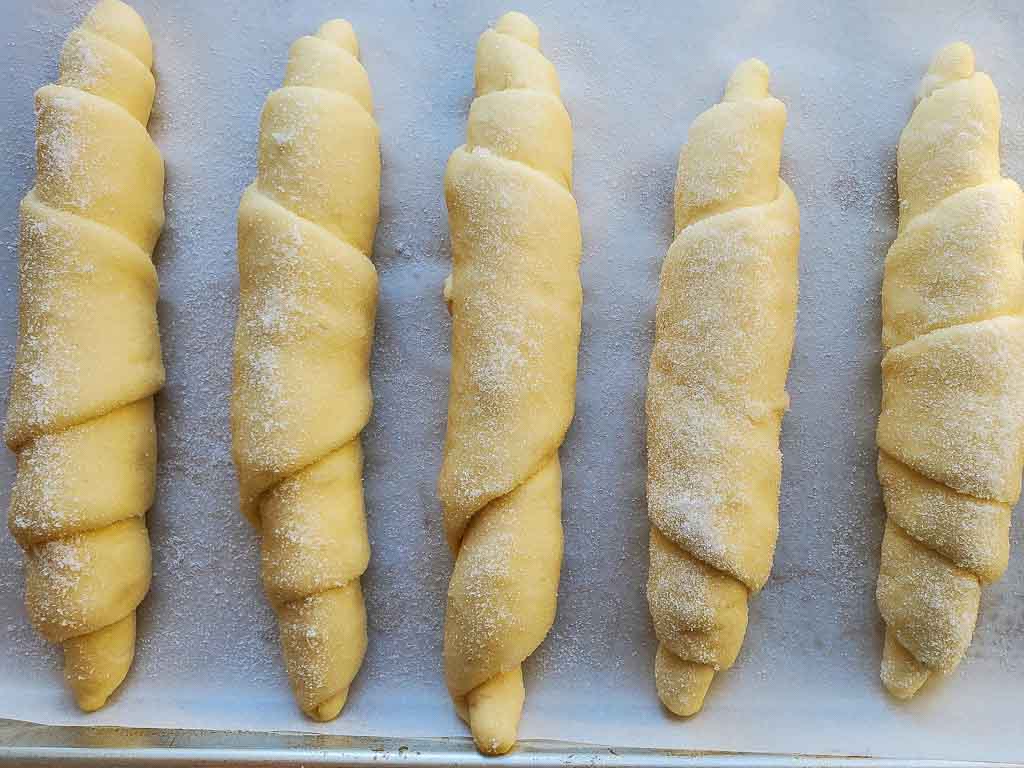
Arrange all the shaped dough rolls on the counter. Make sure to leave about 2 inches between each dough. Cover with plastic wrap.
-
Let them rise again until they are doubled in size. It'll take about 40 - 50 mins depending on room temperature. Do not overproof. They should be puffy and giggly but when you gently press the dough, it should not collapse/deflate too much or leave a huge dent.
-
Midway through the second proof, turn on the oven to preheat at 400F/ 205C.
Applying Sugar and Bake (watch the video)
-
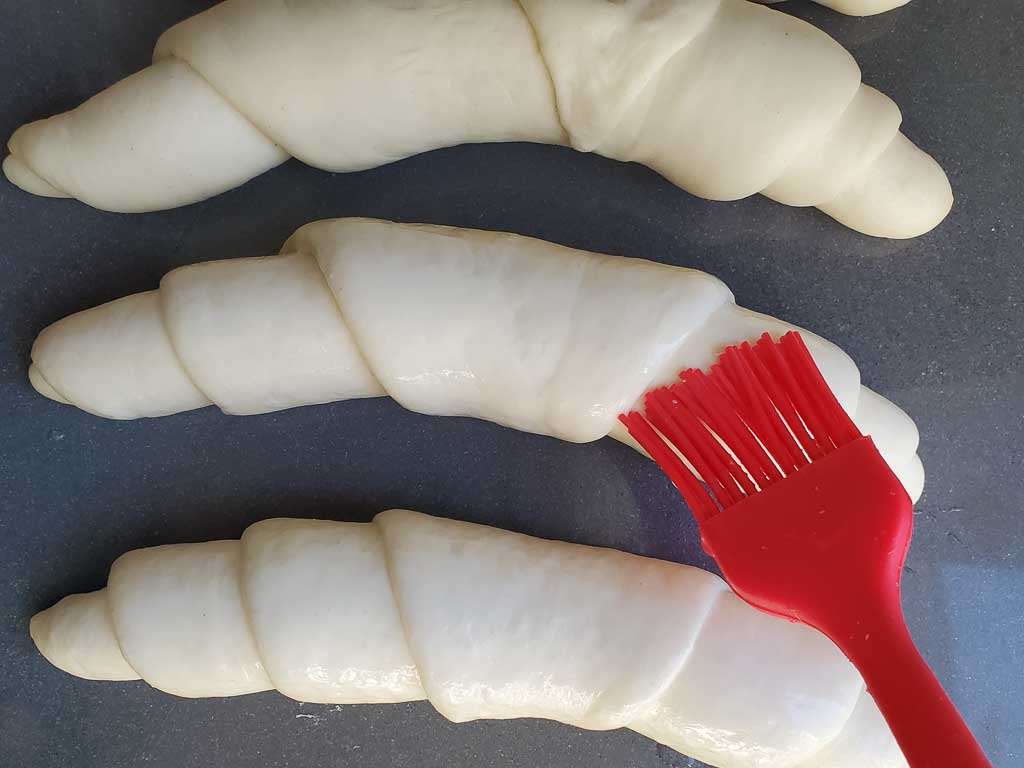
Apply water on the top of each bun using a pastry brush. Make sure not to apply any water on the bottom.
-
Add sugar to a large plate. Gently lift up one bun and put it upside down on the plate so only the side you applied water touches the sugar. Rock it back and forth a few times to get a good coating of sugar. (check notes below)
-
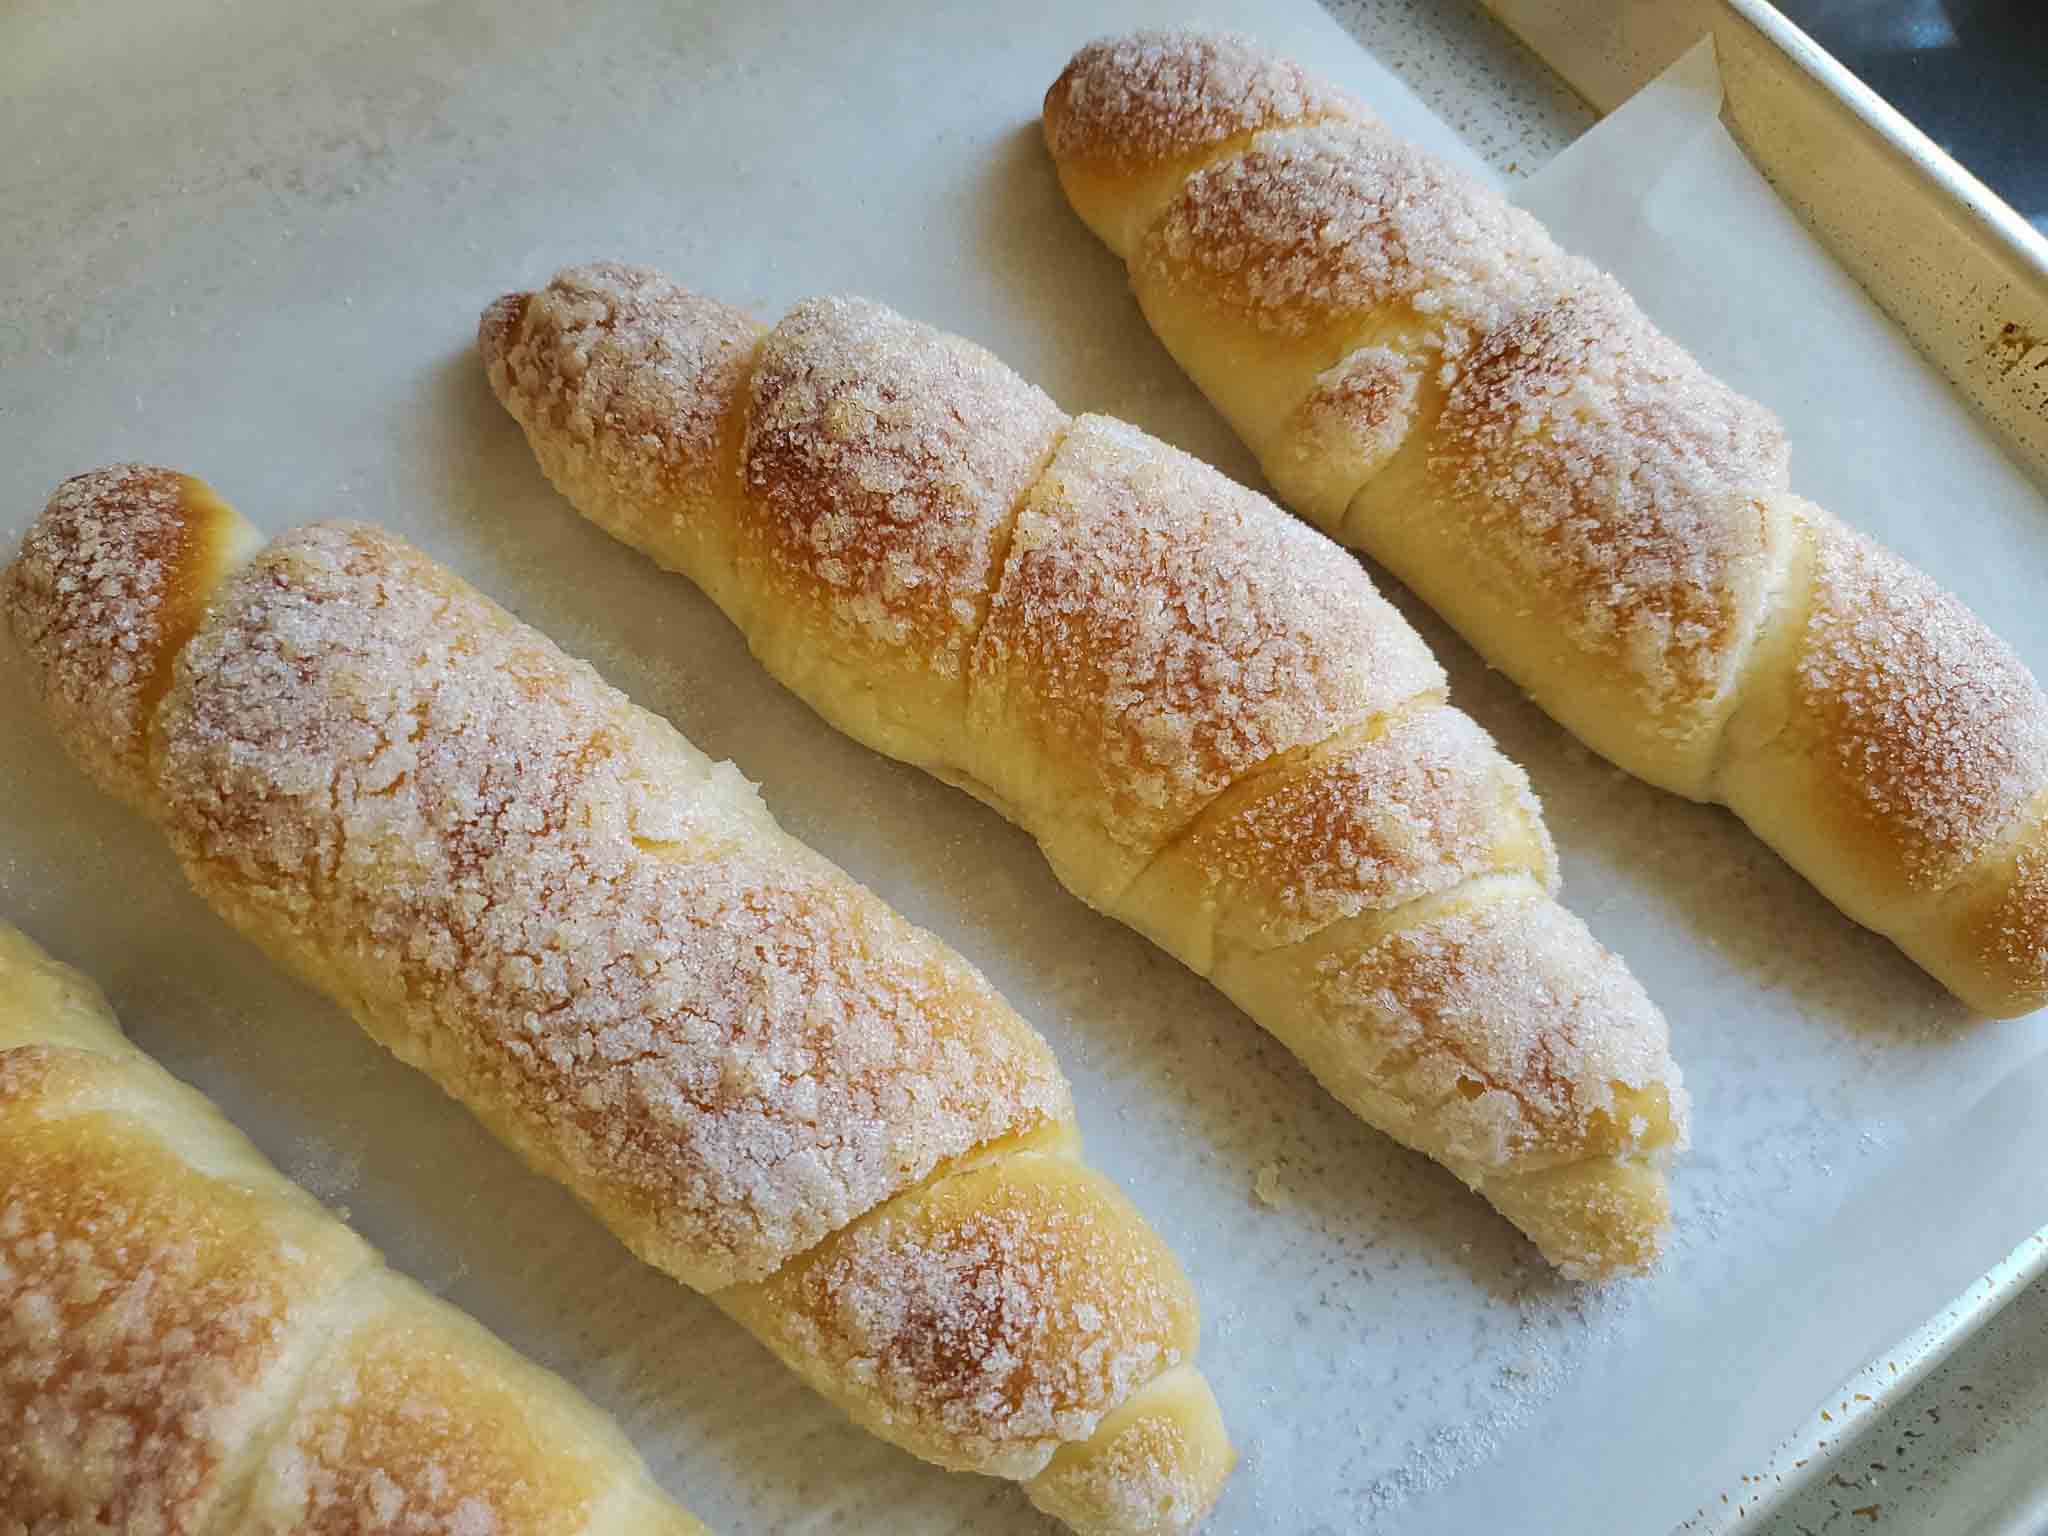
Lift it up gently and place it on a baking sheet, sugar side up. (I always line the baking sheet with parchment paper for easy cleaning). Make sure to leave 1-2 inches of space between each dough. optional step: sprinkle a little bit more sugar on the top if you like it extra sugary.
-
Bake at 400F for about 15 - 20 mins until buns are lightly golden in color. When the buns are done, take them out of the oven and let them cool down for about 20mins before serving or cutting them open.
Notes
- Instead of dipping the dough in sugar, you can sprinkle sugar on top as well.
Leave a Comment